
OrthoPlus
Quick Start Guide
How a case moves through GuideMia OrthoPlus clear aligner software: two scans in, staged tooth movement, attachments, and printable arch models or direct-print aligner files out — in thirteen steps, each one a page.
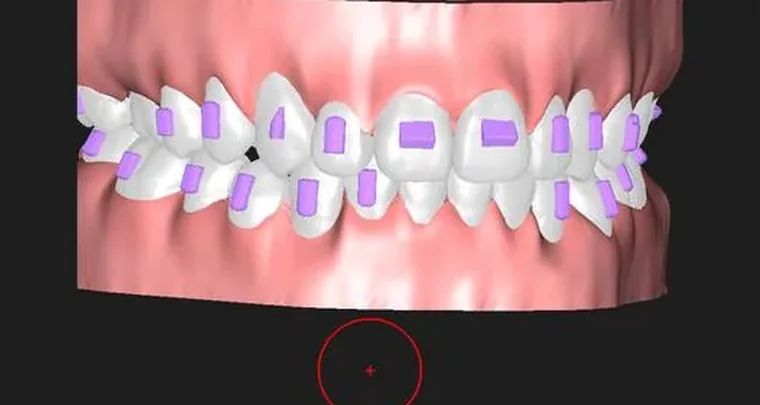
One button drives the whole case
Almost everything in this guide is driven by a single control. The Happy Button sits at the bottom right of the window and always shows the next step of the workflow: press it, GuideMia does that step, and the button changes to name whatever comes next. You can leave the sequence at any point to do something by hand, and pressing it again picks the thread back up. AlignerBot presses it for you, step after step, to the end of the design.
Before the case
Intended use and safety
What GuideMia OrthoPlus is and produces, its indications for use, intended users, warnings, and the boundary between what the system does and what remains the clinician's judgement.
Before you start
What this guide covers and leaves out, the five stages behind every case, what an arch model is made of, the hardware the AI Engine needs, installing, licensing and the terms used.
Five stages, thirteen steps
Whatever route a case takes, treatment planning in OrthoPlus has the same five stages behind it. The steps are the guide's chapters, in the order the work happens.
Preparation
The patient's scans come in and are turned into a case: the occlusion plane, repaired jaw models, crown boundaries, and every tooth separated from the arch.
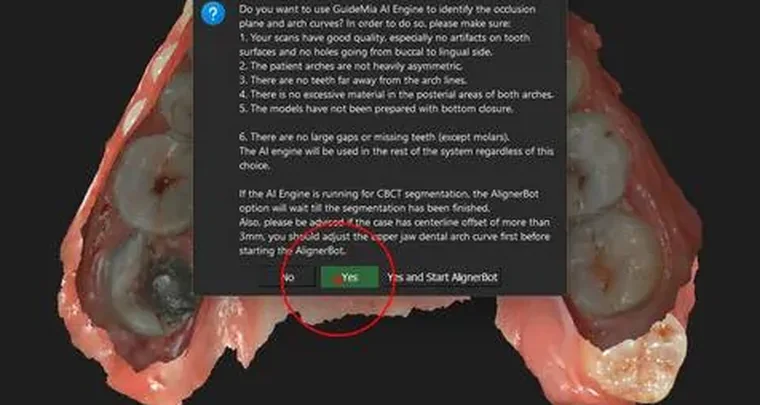
Step 1 of 13
Starting the case
Create a project without CT from an upper and a lower scan, confirm the articulated pair, and meet the Happy Button that drives every step from here.
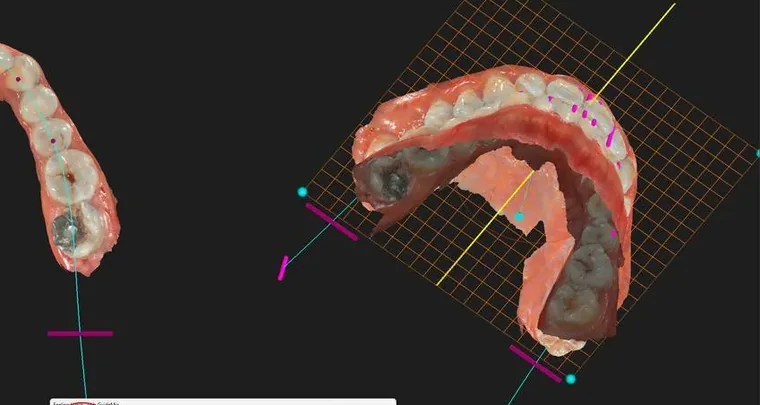
Step 2 of 13
Setting the occlusion plane
Let the AI Engine propose the datum plane, then judge its orientation and midline — the reference every later measurement and the final centreline are built on.
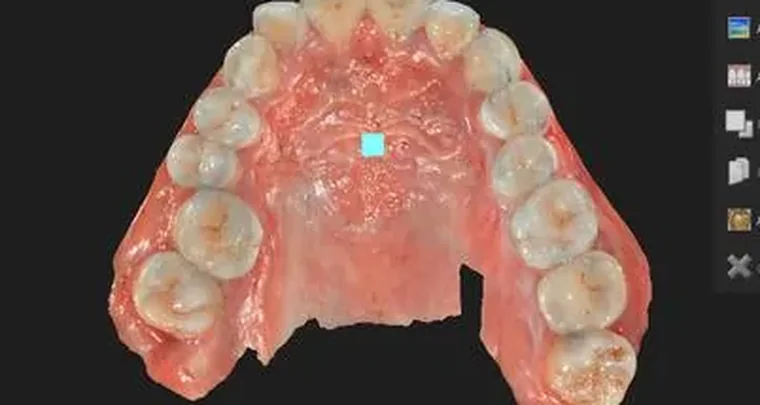
Step 3 of 13
Fixing the jaw models
Set the bounding box that reports the OP-FH angle, read the scan-quality report, choose how hard to repair, and inspect the result — the step everything else inherits.
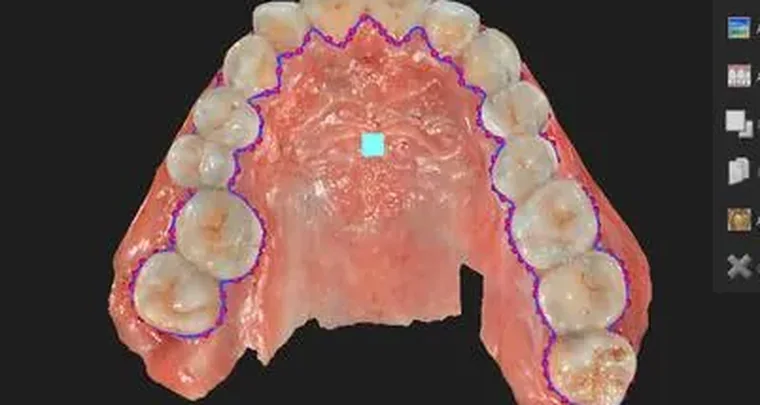
Step 4 of 13
Crown boundaries and base models
Trace the crown boundaries the segmentation will follow and close the open scans into solid base models.
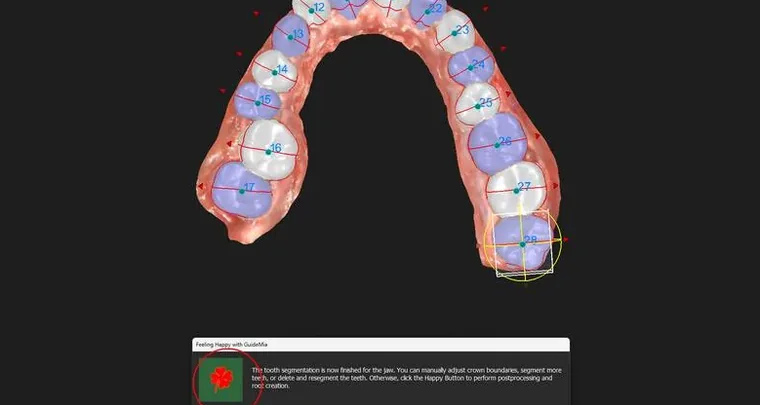
Step 5 of 13
Segmenting the teeth
Separate every tooth from the arch with the AI Engine, check the flagged teeth first, and correct a boundary by hand where needed.
Viewing and diagnosis
Measurement and the recording of findings, alongside the planning tools rather than separate from them. The display maps are the colour overlays you turn on to judge contacts, bone and movement.
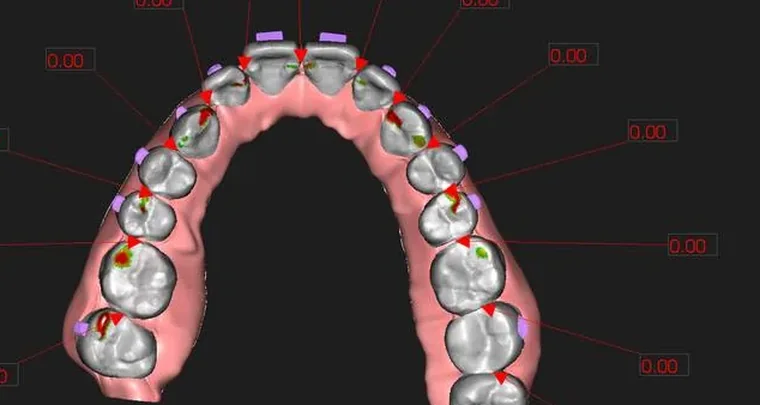
Planning
Tooth movement, articulation adjustment and visualisation: the first automatic alignment, movement planning with IPR, and staging the movement into steps you can simulate.
Step 6 of 13
The first alignment
GuideMia's automatic setup: the arch curves, the proposed final positions, and how to read them before touching a tooth.
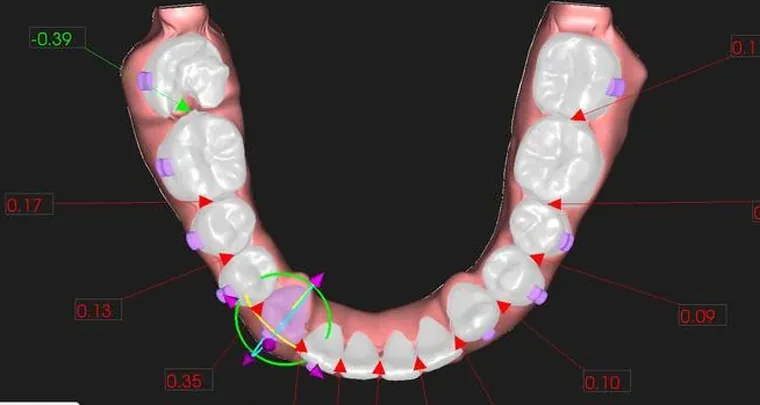
Step 8 of 13
Movement planning and IPR
Adjust targets tooth by tooth, check interproximal reduction against the allowed limits, and settle the occlusion.
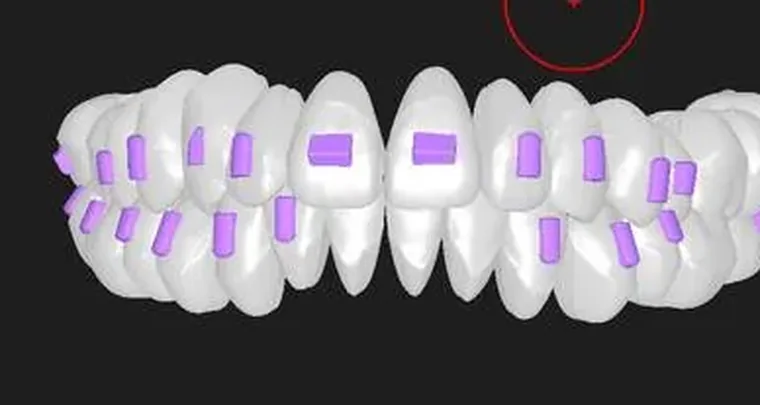
Step 9 of 13
Staging and simulation
Automatic staging into steps, the movement table, the per-step limits in the movement profile, and playing the simulation.
Design
The software designs what the aligners are made from — attachments, the series of arch models for thermoforming, or the aligner shells themselves for direct printing.
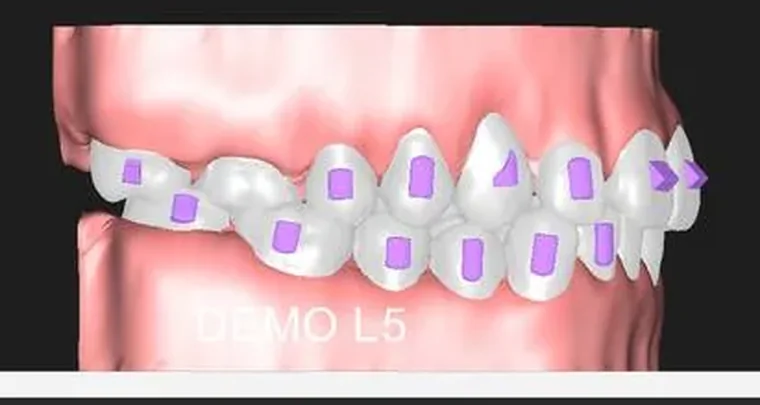
Step 10 of 13
Attachments
Automatic attachment placement per movement, the attachment library, and editing them tooth by tooth.
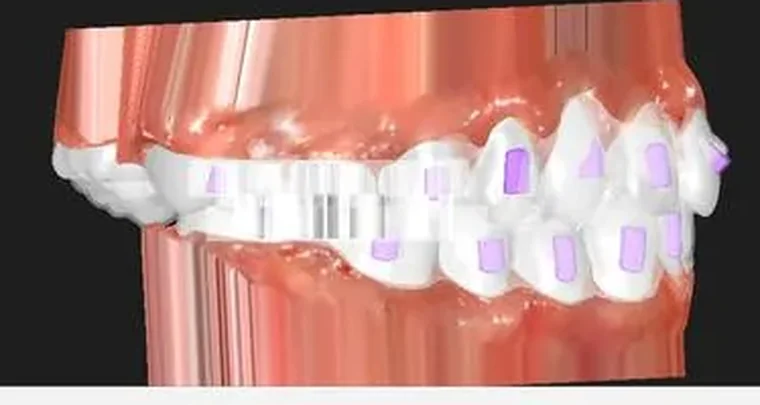
Step 11 of 13
Case tags and generating the arch models
Put the case tag on the base, then generate the series of arch models — one per step — a lab prints and thermoforms over.
Step 12 of 13
Generating the aligner files
Direct-print aligners instead of arch models: the boundary, the printer-specific parameters, and the files that come out.
Manufacturing and delivery
A lab produces the appliances from the exported files with no or trivial post-processing. Manufacturing itself is outside the guide; the last step covers packaging the case for web review and saving it.
What comes out
The files the software writes, and what each one is for.
| Output | Used for |
|---|---|
| Arch models, one per step | Printing, then thermoforming aligners over |
| Aligner and retainer shells | Printing directly, no thermoforming |
| Aligner boundary files | Reviewing and adjusting the cut line of each shell |
| Aligner trimming paths | Driving a robotic trimmer |
| Bracket bonding guides | Indirect bonding of fixed appliances |
| A combined model of teeth, gums and attachments | Visualisation and case sharing |
| A treatment report | Presenting the plan |
Before you start
The AI Engine's hardware floor
Windows 10 or later, 16 GB of RAM and an NVIDIA RTX card (RTX 2060 or newer). Below that line OrthoPlus still runs, but segmentation falls back to curvature and needs more hand work.
This case has no CBCT
The guide follows two intra-oral scans. A CBCT adds two stages — loading and registering it — before step 2, and gives real roots, bone density and root-collision checks. That branch is not walked here.
Aligners, not brackets
OrthoPlus also designs bracket bonding guides for fixed appliances. The case here takes the aligner branch throughout; the bracket path is a separate workflow.
Watch the same steps
Tutorial videos from the GuideMia channel that show the part of the case each step describes.

