
The arch is registered. This step brings in anything else the plan needs to be judged against — most often the opposing arch, sometimes a planned restoration.
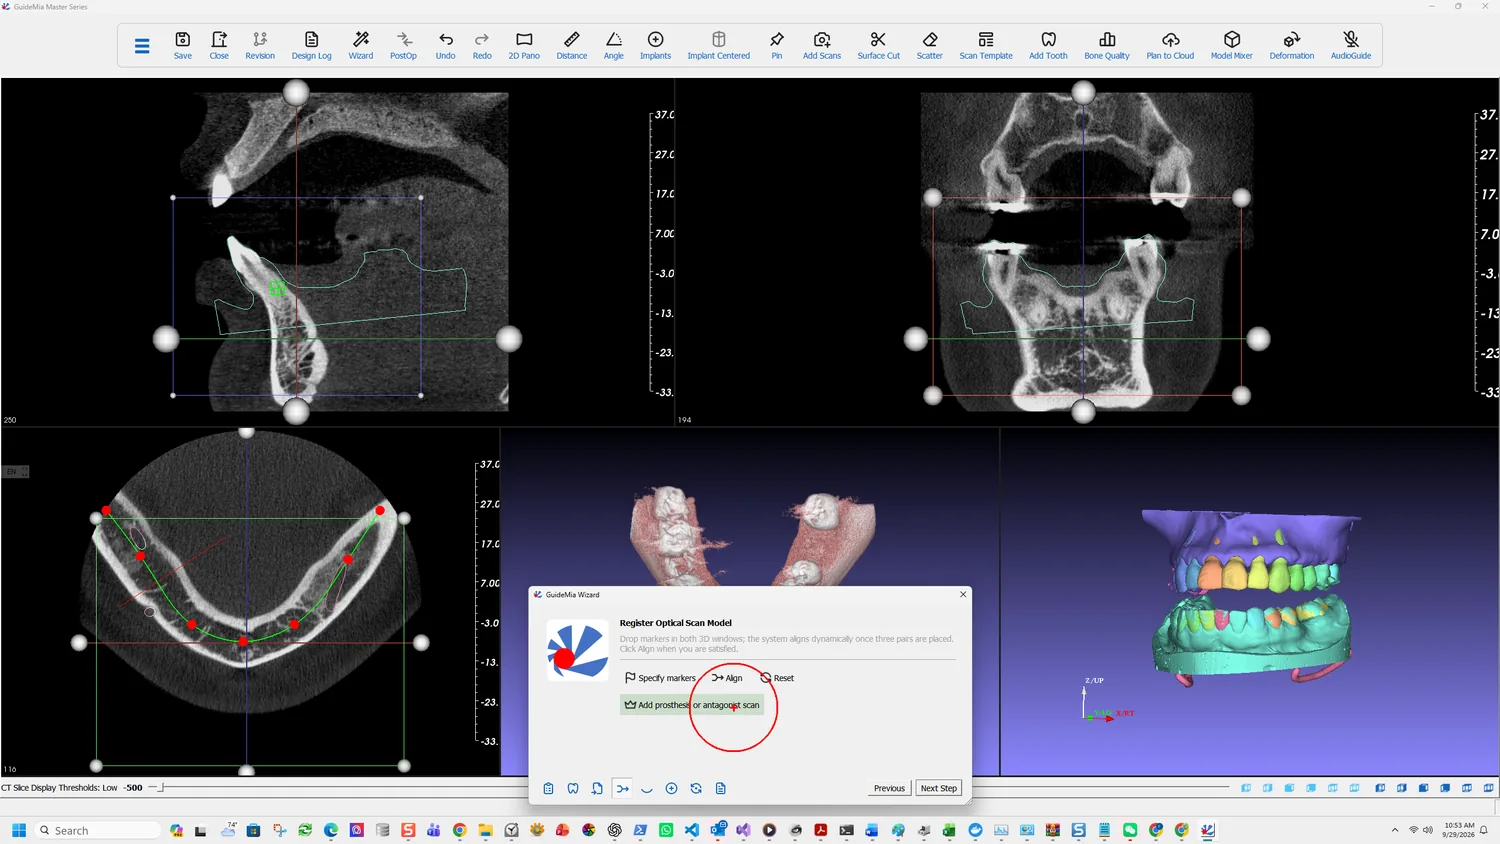
What this loads, and the condition attached
Additional prosthesis model. It is required that the additional model has been registered with the current scan template that is being registered, so the additional scan will inherit the transformation from the scan template.
That condition is the whole mechanic. The additional model is not aligned independently — it inherits the transformation computed in the previous step. So it must already sit correctly relative to the scan template when it arrives.
In practice that means the two came out of the same scanner session, or the same design software, already in a shared coordinate system. A mesh from an unrelated source will land wherever its own origin puts it, and no amount of loading it again will fix that.
The two things people load here
An antagonist scan. The opposing arch, so the plan can be judged against the occlusion rather than against the working arch alone. This is what the demo case loads.
A tooth setup. The status tip gives the example directly:
Another example is your scan template is an intra-oral scan, and you have another STL file with tooth setup.
That is prosthetically driven planning in its plainest form: the restoration is designed first, loaded here, and the implant is then placed to serve it rather than the other way round.
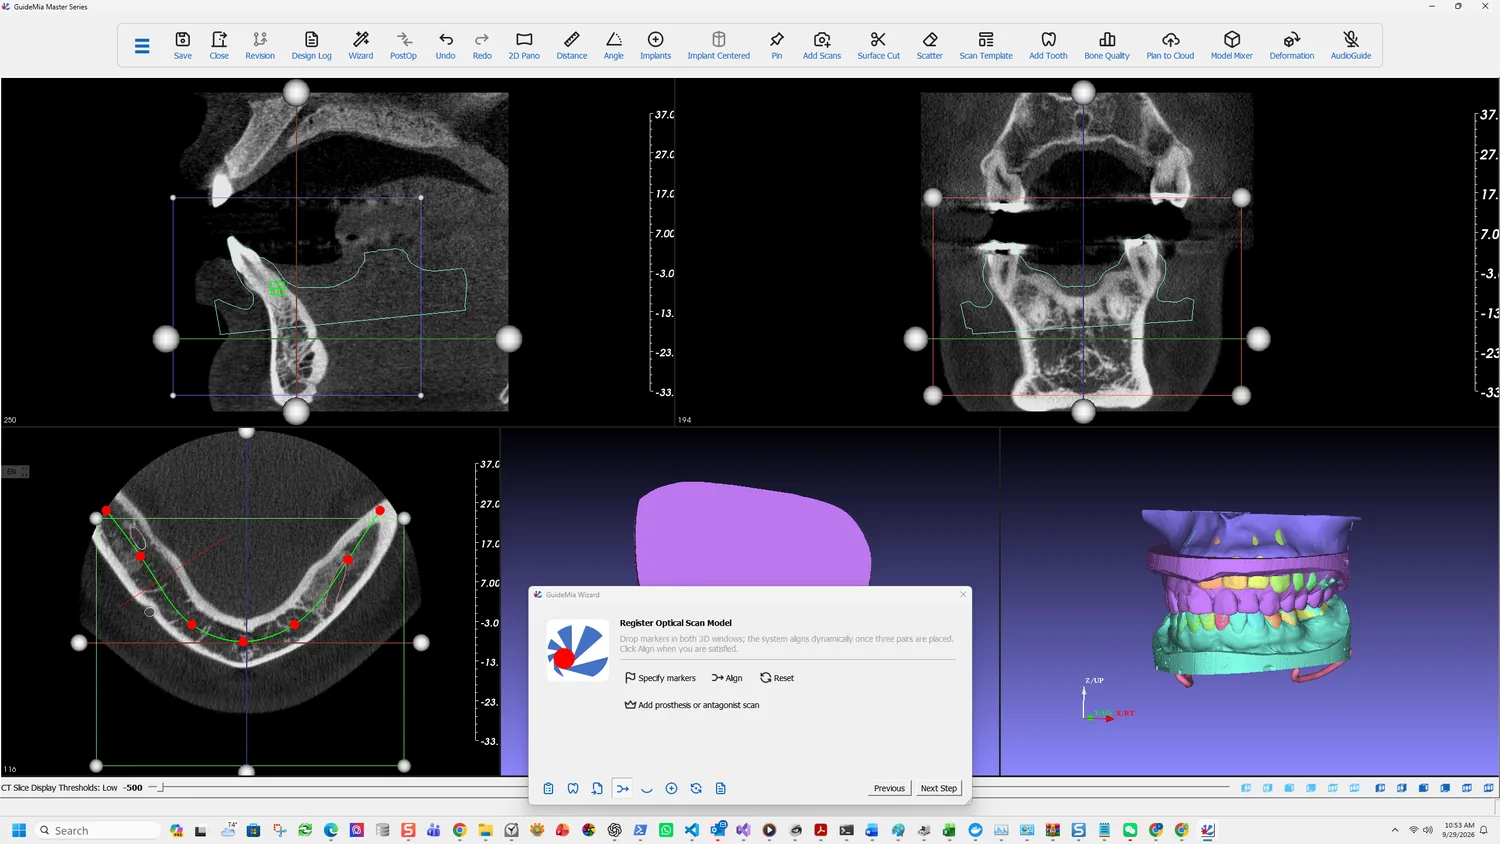
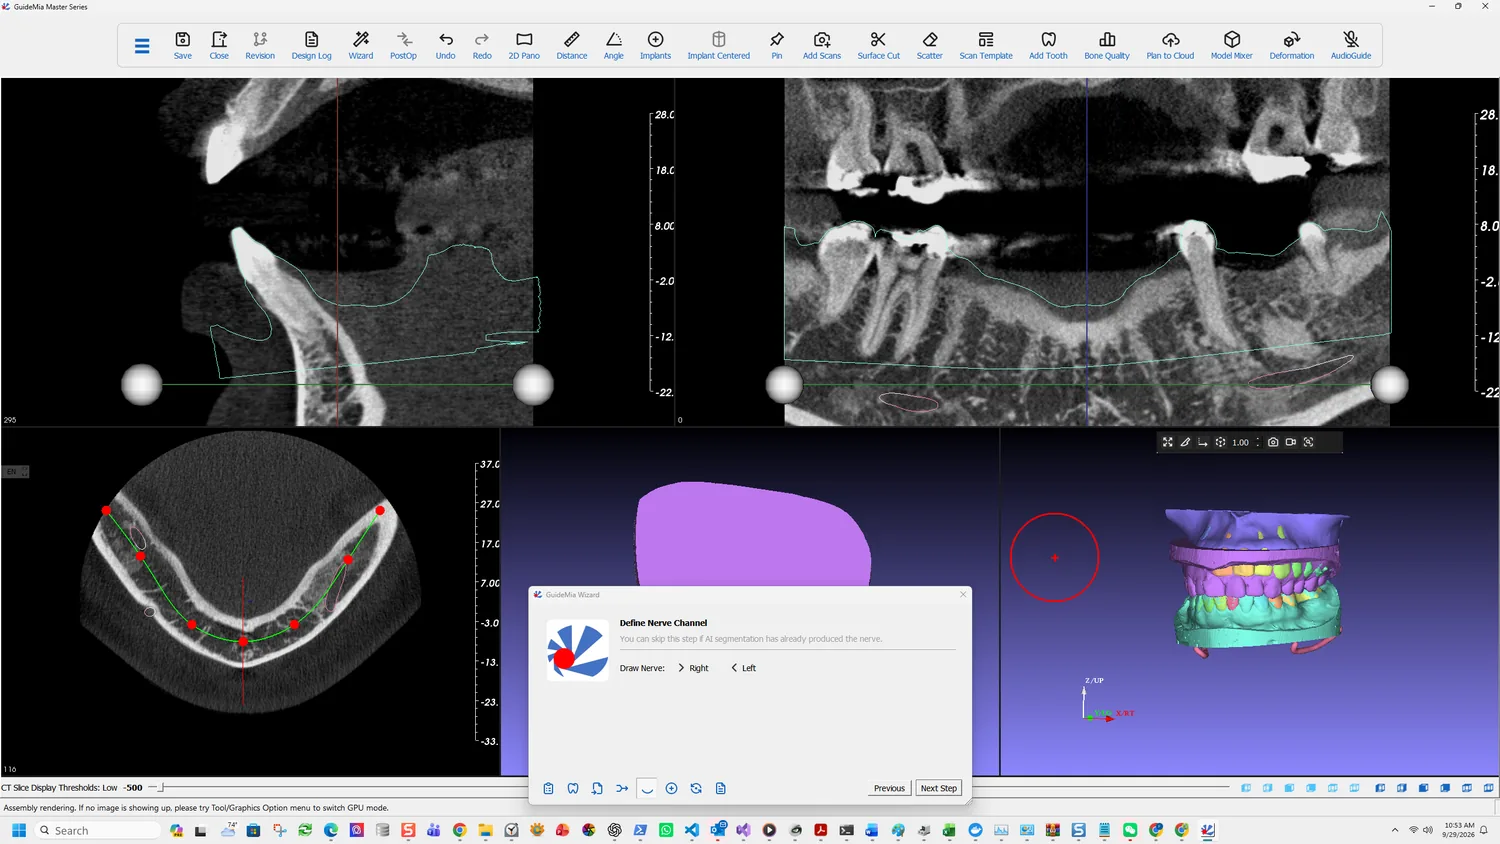
Managing what is on screen
By this point the scene holds the bone, the segmented teeth, the registered scan and now the antagonist. That is more than you can usefully look at.
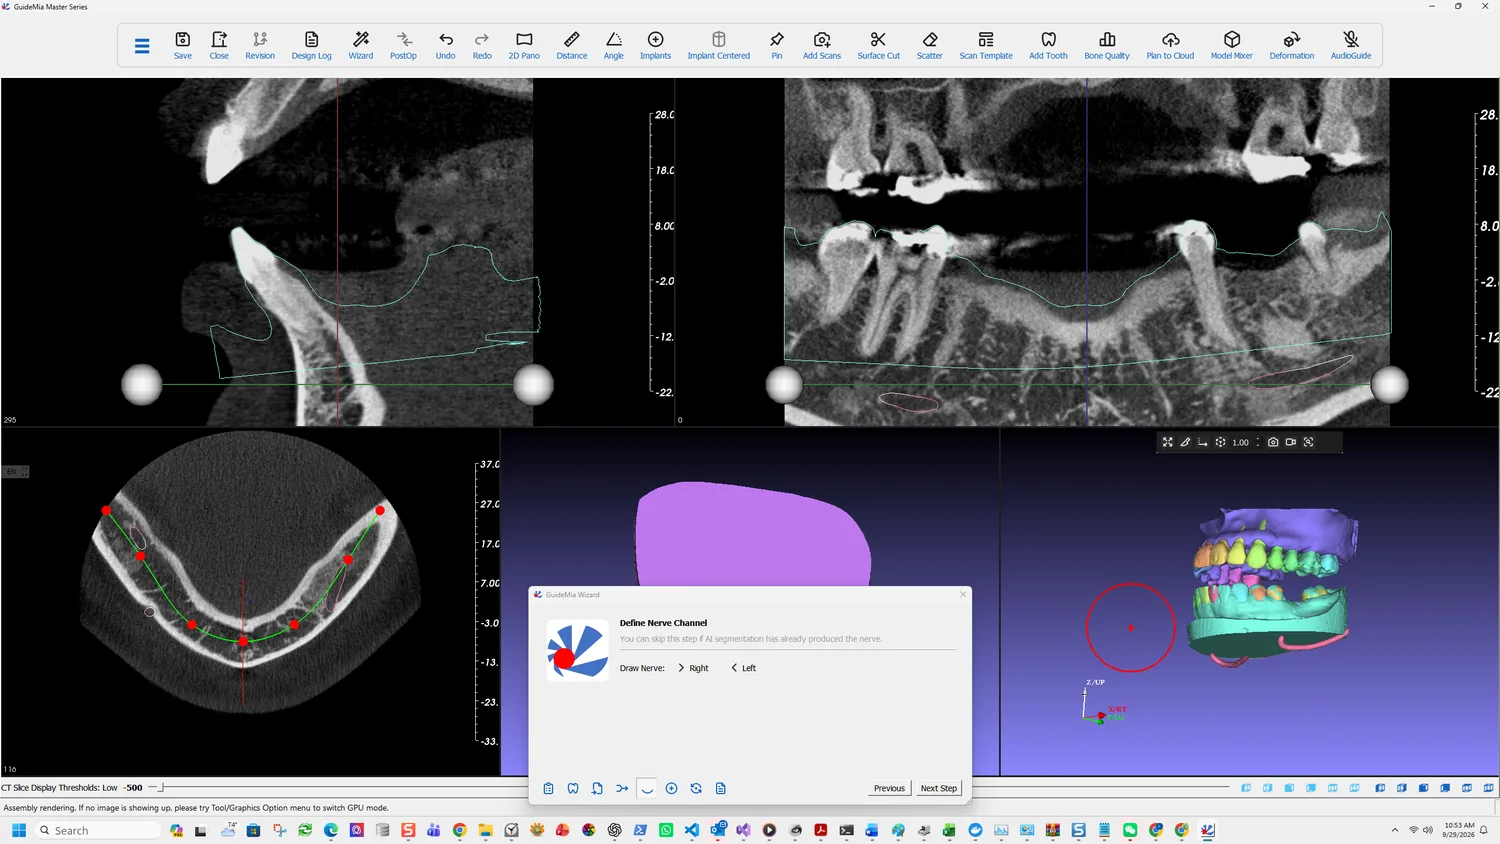
Hide removes an object from view without deleting it. It is the control you will use most from here on — hiding the antagonist to place the implant, then showing it again to check clearance. Objects are listed in the assembly window and in the Object Manager, and right-clicking one there is how you make it current, hide it, or act on it.
The full Additional References page in Case Preparation handles the same loading, alongside:
- Denture design, loaded as a full-arch prosthesis rather than a single setup. GuideMia can add abutment holes to it, or generate a prosthesis guide — a guide the clinician seats to check occlusion and guide position before any drilling.
- Virtual Tissue Model, for cases needing the soft tissue represented explicitly rather than inferred from the scan surface.
The Add Scans toolbar button reaches these without the Wizard.
One planning note that belongs here rather than later: if you intend to place the implant against a restoration, load the restoration now. Placing first and loading the setup afterwards works, but it invites the quiet mistake of planning to the bone and then discovering the restoration wanted the fixture somewhere else.