
One fixture is a placement decision. Four are a placement decision plus a relationship — to each other, and to the guide that has to clear all of them at once. This chapter is about the second part.
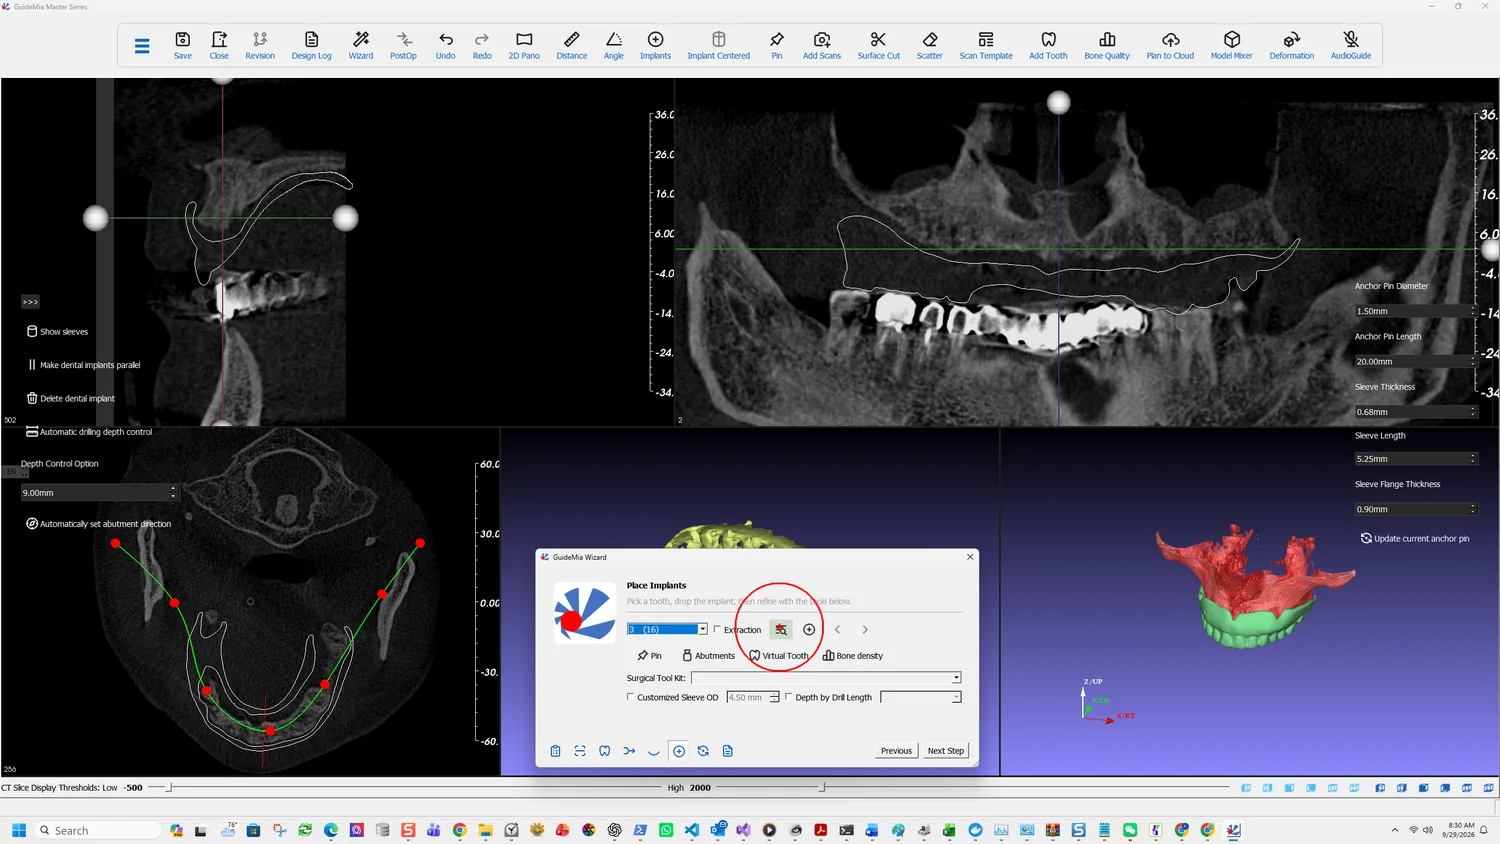
The first one is a Part One problem
Pick the tooth, choose the fixture, judge it on all three planes: exactly step 7. This case uses CAMLOG SCREW-LINE Promote, 3.80 mm diameter, 3.54 mm apical, 11.00 mm long, against the Camlog surgical kit, which the software matched to the implant automatically.
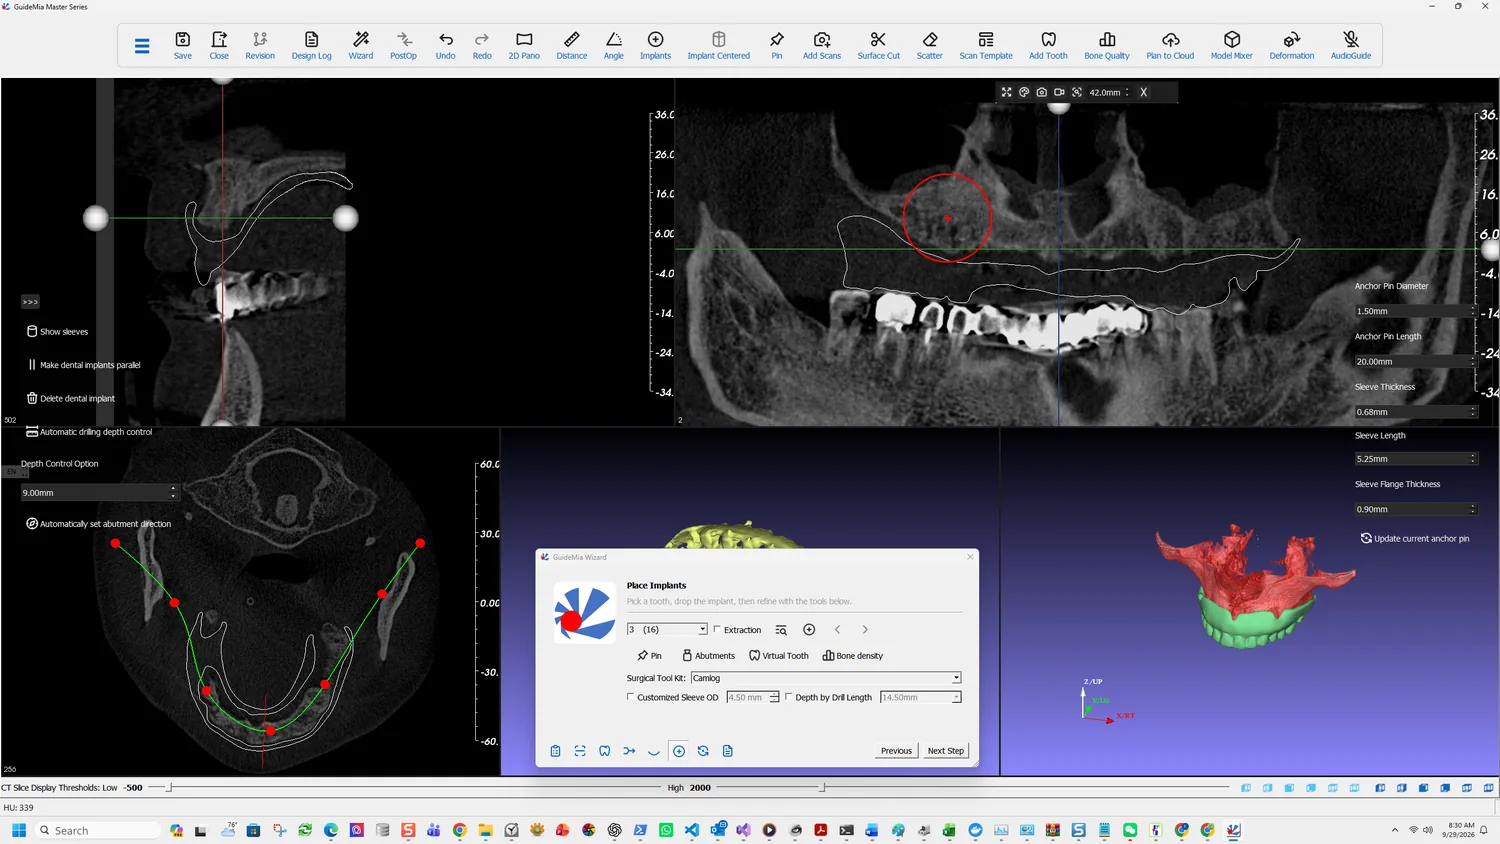
Spend the time here. Everything after it is a copy of this decision, so an angulation that is slightly wrong gets replicated rather than corrected.
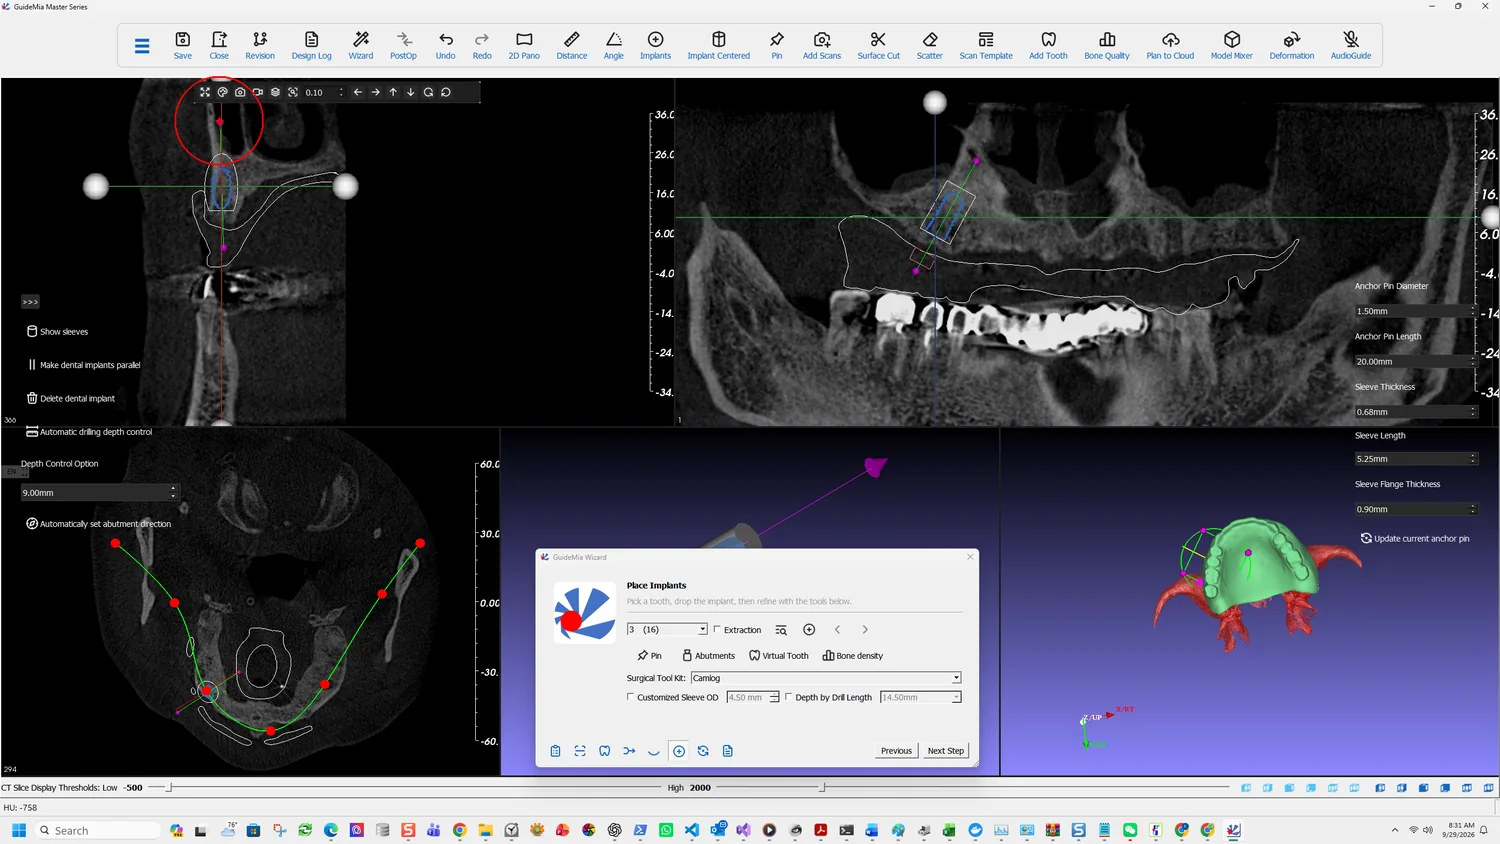
Two controls on the full Place Implants panel earn their place on a full arch:
- Show Safety Zone, set to 1.50 mm here, draws the clearance envelope the manual defines as "an area in the 3D space surrounding an implant. There should be no interference with adjacent tooth roots, implants, nerves, sinuses, etc." On a single unit you are watching one envelope. Across an arch you are watching them not touch each other.
- Show sleeves, because sleeves are considerably larger than fixtures. Two implants that clear each other comfortably can have sleeves that collide, and the guide is built to the sleeves.
Copying it down the arch
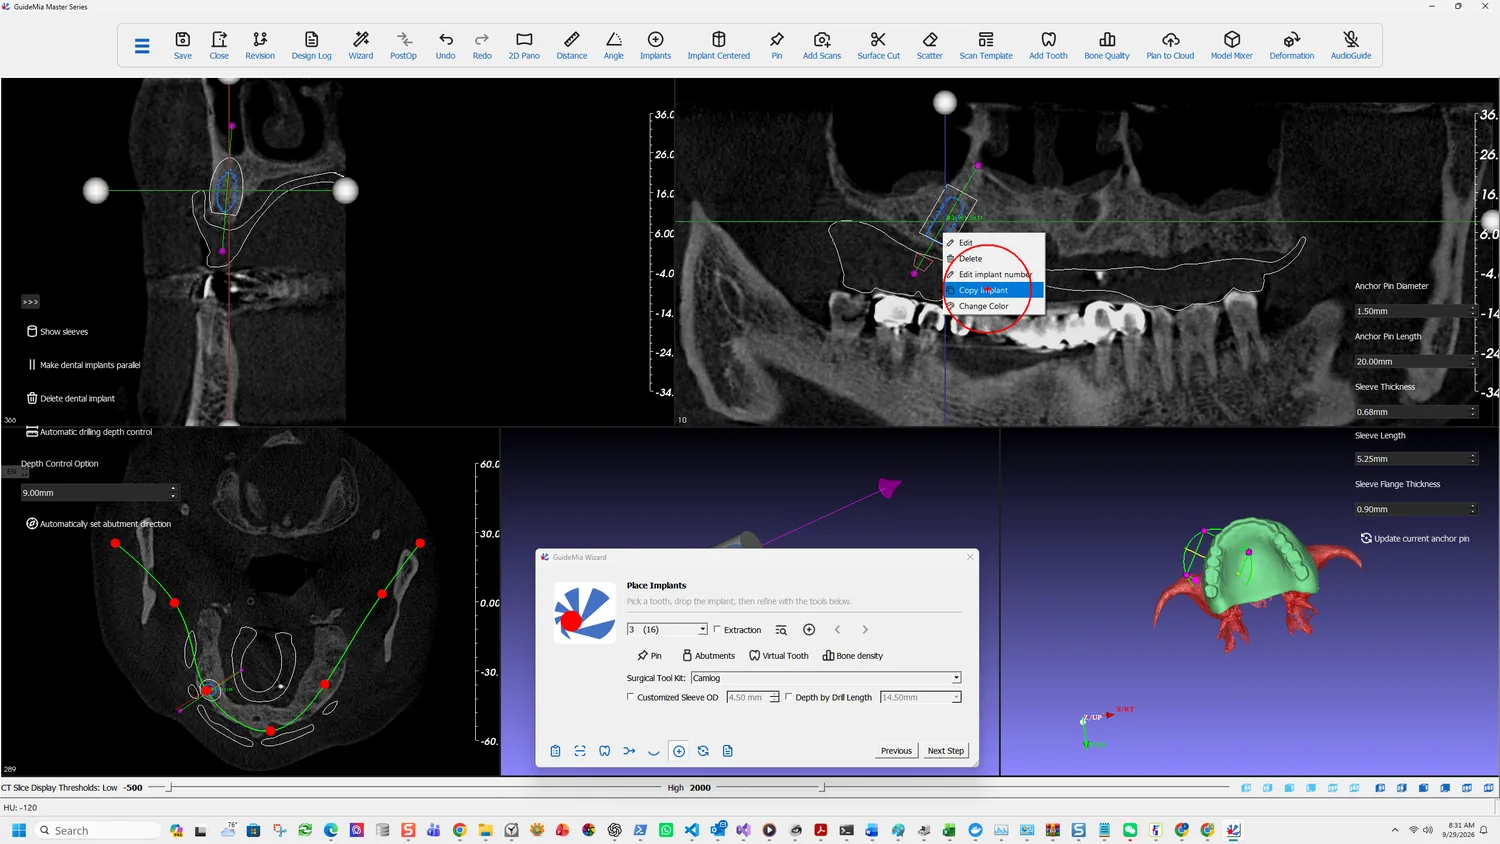
Right-click a placed implant in any 2D view and the object menu offers Edit, Delete, Edit implant number, Copy Implant and Change Color.
Copy Implant is the full-arch tool. It duplicates the current fixture — the same make, model and size, and the same orientation — onto another tooth, at a position the software estimates for that site.
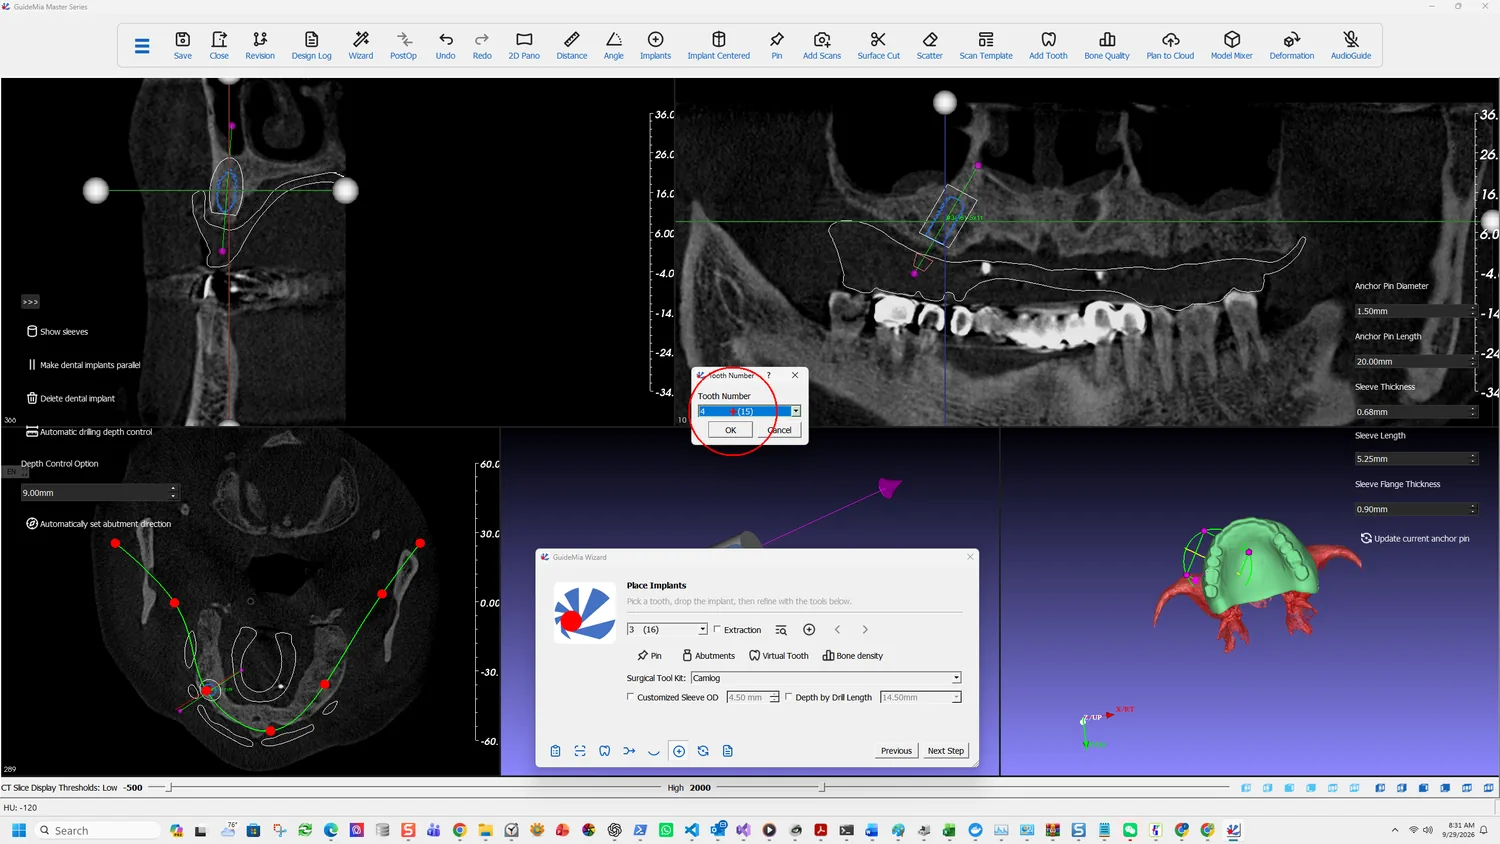
It asks which tooth, and the number it offers is the next one along: the
source here is 3 (16) and the dialog opens on 4 (15). Accept it or pick
any other.
Two behaviours worth knowing before you rely on it:
It refuses to overwrite. If an implant already exists at the number you choose, you get "Implant exists." and nothing happens. To move an implant to a different number instead, use Edit implant number, which renumbers it in place rather than creating a second one.
The position is an estimate, the angulation is a copy. The software works out where that tooth site is and puts the fixture there; the direction comes straight from the implant you copied. So the copy arrives plausible rather than correct, and it still has to be judged on all three planes like any other.
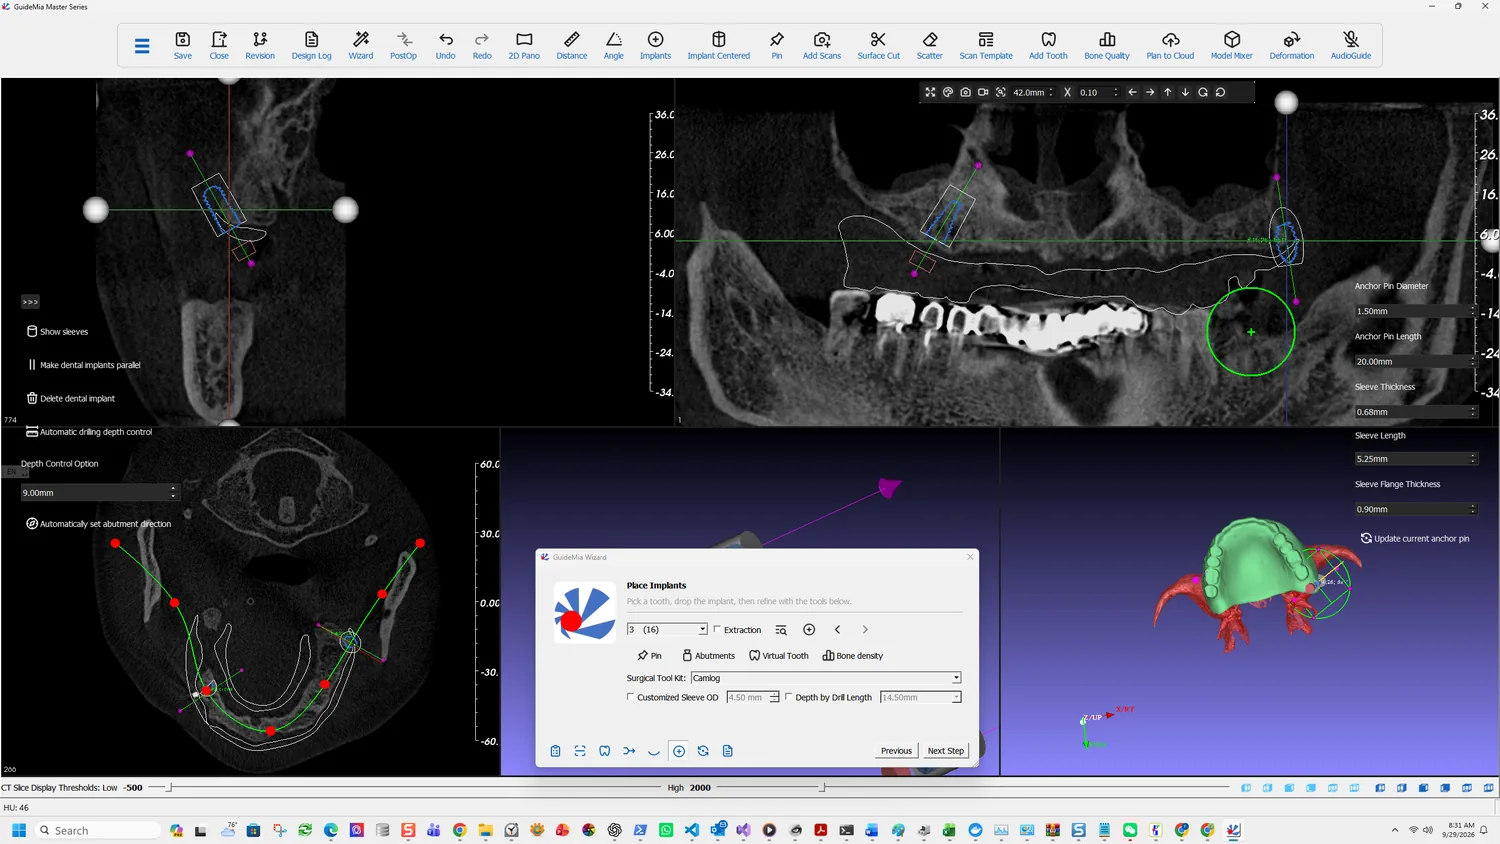
What this saves is not the placement — it is the specification. You choose the implant system, diameter, length, kit, sleeve and depth once, and every subsequent site inherits them without going back through the library.
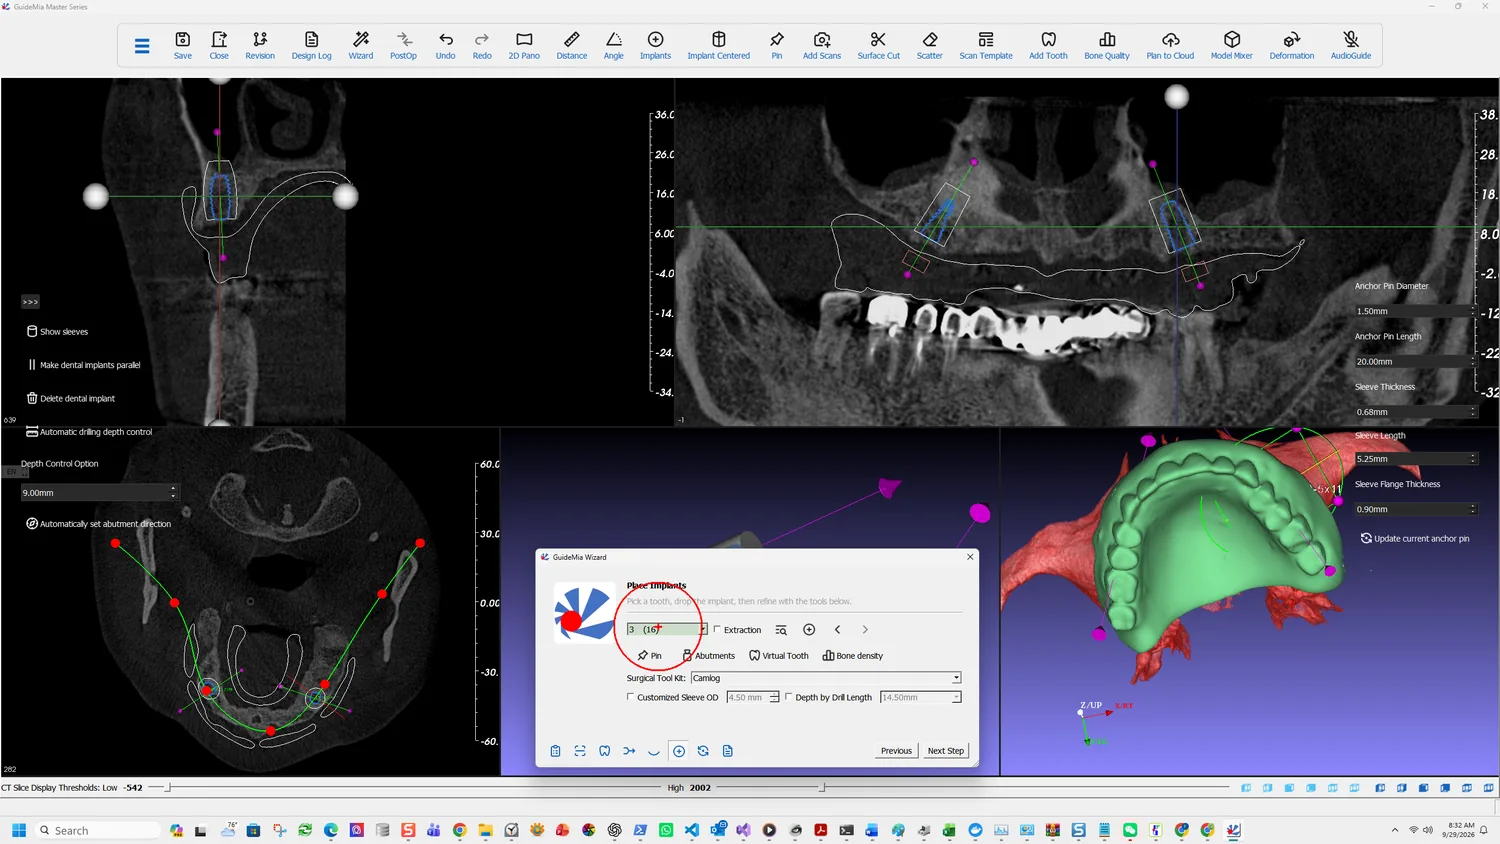
Making them parallel, and the number that decides
Make dental implants parallel sits in the sidebar of the Place Implants page. It aligns multiple fixtures, and it is meaningless on a single unit.
Parallelism is not only a prosthetic preference. It is a validation criterion, and the software states the threshold:
The angles between two neighbor implants are bigger than 20 degrees, which can be a warning sign.
Twenty degrees between neighbours. That is checked before guide design and reported in the plan validation dialog covered in the next chapter but one. It is worth knowing the figure while you are still placing, because correcting divergence now costs a drag and correcting it later costs a regenerated guide.
A related tool lives on the coronal view's context menu: making an abutment parallel to its neighbour rather than the fixture, which is the right handle when the restoration drives the case.
Depth, across several fixtures
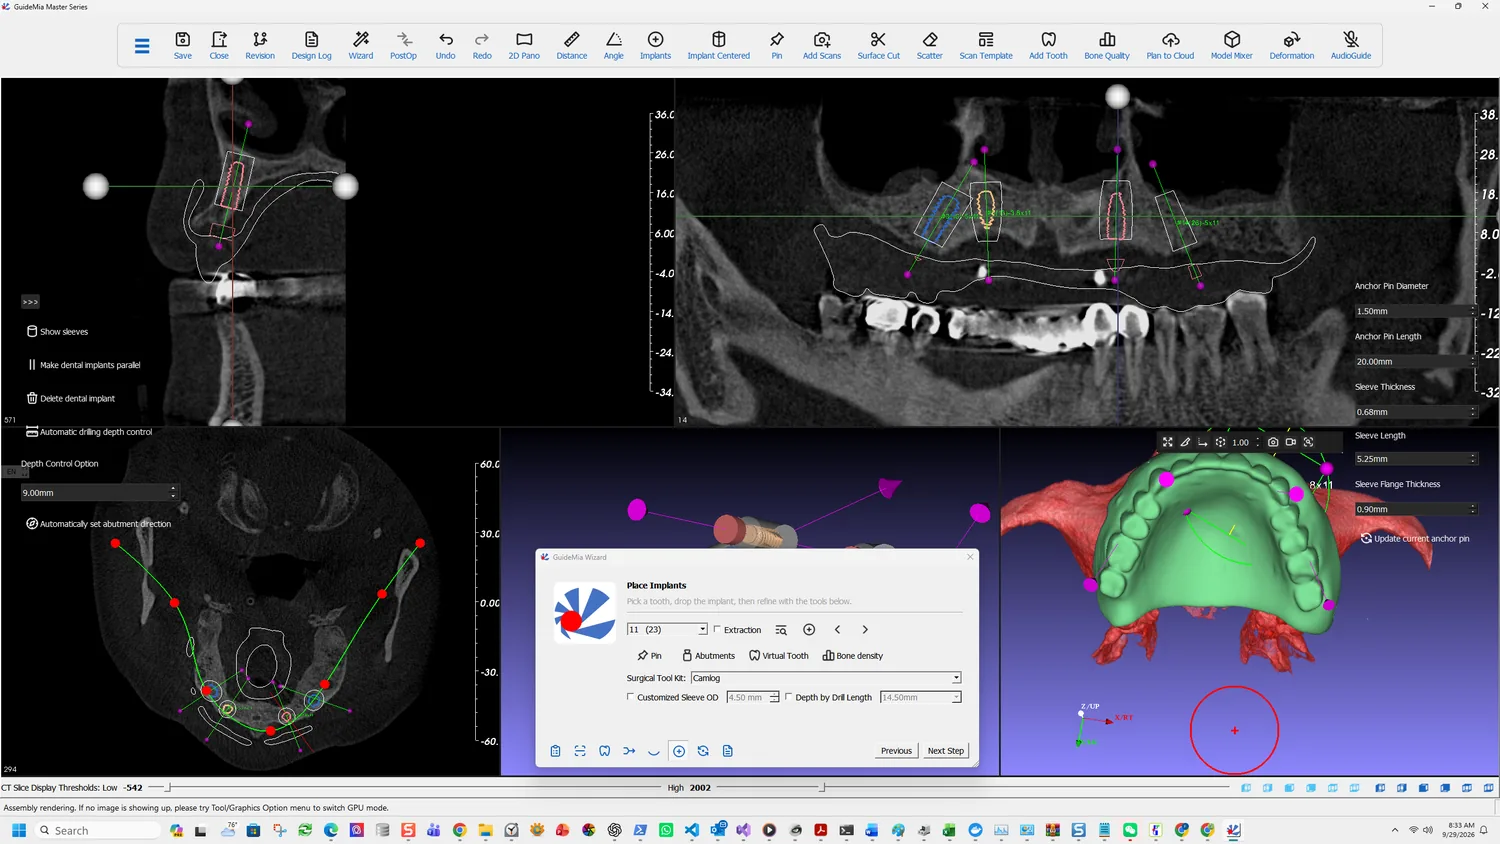
Automatic drilling depth control, with a Depth Control Option in millimetres, applies a consistent depth rule rather than leaving each site to be set by hand. Depth by Drill Length does the same from the other end — "You can set the total drill length as you like" — and reads 23.50 mm here, against the 14.50 mm the single-unit case used.
That difference is the whole argument for setting it deliberately. The drill length is what reaches the surgical kit and the report, and the Instructions For Use are blunt about the consequence of getting it wrong:
Failure to recognize the difference between the actual length of the drill and radiographic measurements can result in permanent injury to the nerves or other vital structures by drilling beyond the depth intended.
Previous / Next Implant step between fixtures, which is how you review an arch rather than clicking each one in the 3D view.
The panel also carries System Library and User Library side by side —
the shipped catalogue and
the one you added yourself — plus the abutment
attached to the current implant, here K2202.3815_Rev_00.stl.
Force fully guided design even with universal kit decides what happens when a case falls back to the GuideMia universal kit: without it, the guide is pilot-only.
Three workflow pages beside this one exist for cases a single unit rarely raises and a full arch often does: Anchor Pins or Screws (next chapter), Bone Reduction or Combined Guide Splitting, and Bone/Sinus Graft. Plan Error Simulation is on the same panel, and an arch is where it earns its keep — see accuracy.