
OrthoPlus 工作流程
一个矫治器病例,从头到尾
一个病例如何在 GuideMia OrthoPlus 隐形矫治器软件中走完全程:输入两份扫描,分步排牙、放置附件,输出可打印的牙弓模型或直接打印矫治器文件——共十三步,每一步一页(指南正文为英文).
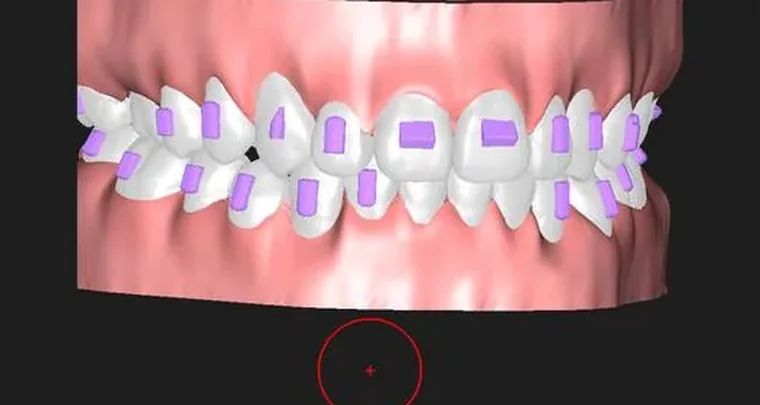
一个按钮驱动整个病例
本指南中几乎所有操作都由一个控件驱动. Happy Button 位于窗口右下角,始终显示工作流程的下一步:按下它,GuideMia 完成该步,按钮随即变为下一步的名称. 您可以随时离开序列手动处理,再按一次即可接着往下走. AlignerBot 会替您一步步按到设计结束.
开始之前
Intended use and safety
What GuideMia OrthoPlus is and produces, its indications for use, intended users, warnings, and the boundary between what the system does and what remains the clinician's judgement.
Before you start
What this guide covers and leaves out, the five stages behind every case, what an arch model is made of, the hardware the AI Engine needs, installing, licensing and the terms used.
五个阶段,十三步
无论病例走哪条路线,OrthoPlus 的治疗规划背后都是同样的五个阶段. 各步即指南的章节,按实际工作顺序排列.
准备
载入患者扫描并建立病例:咬合平面、修复后的颌骨模型、牙冠边界,以及从牙弓中分离出的每一颗牙.
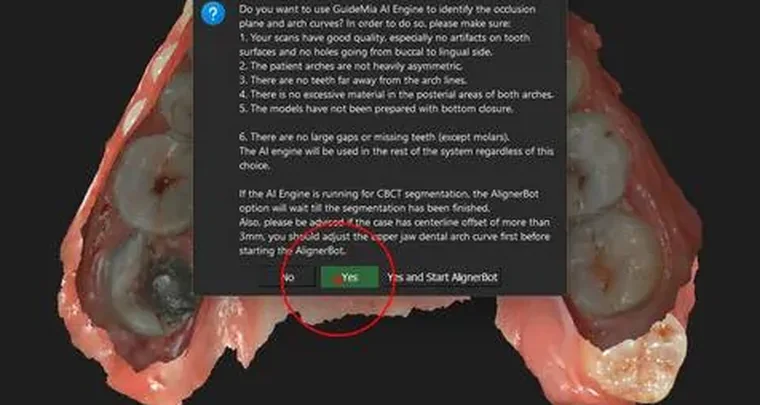
第 1 步,共 13 步
Starting the case
Create a project without CT from an upper and a lower scan, confirm the articulated pair, and meet the Happy Button that drives every step from here.
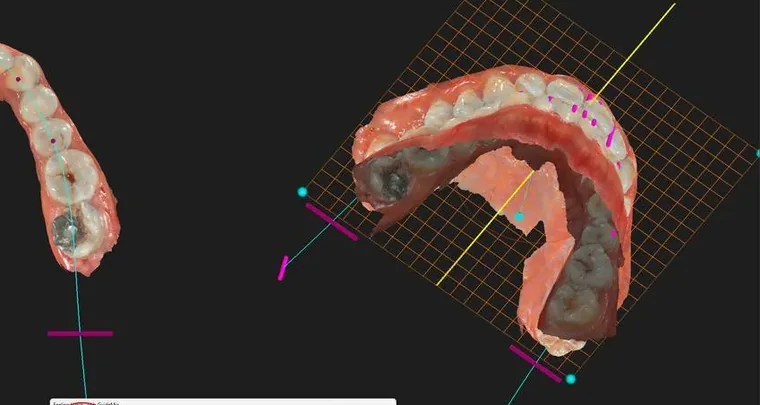
第 2 步,共 13 步
Setting the occlusion plane
Let the AI Engine propose the datum plane, then judge its orientation and midline — the reference every later measurement and the final centreline are built on.
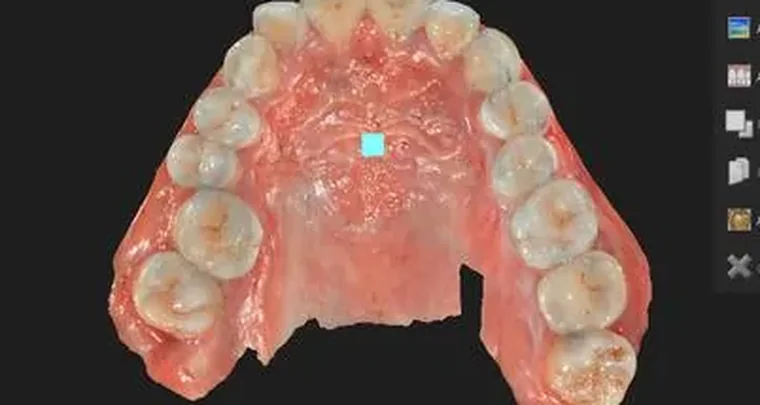
第 3 步,共 13 步
Fixing the jaw models
Set the bounding box that reports the OP-FH angle, read the scan-quality report, choose how hard to repair, and inspect the result — the step everything else inherits.
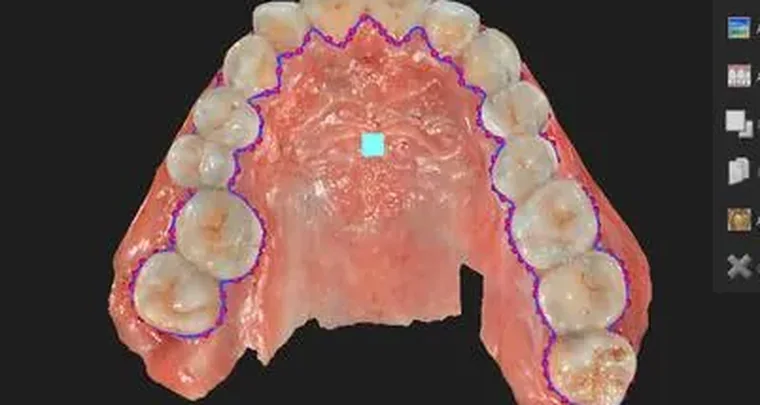
第 4 步,共 13 步
Crown boundaries and base models
Trace the crown boundaries the segmentation will follow and close the open scans into solid base models.
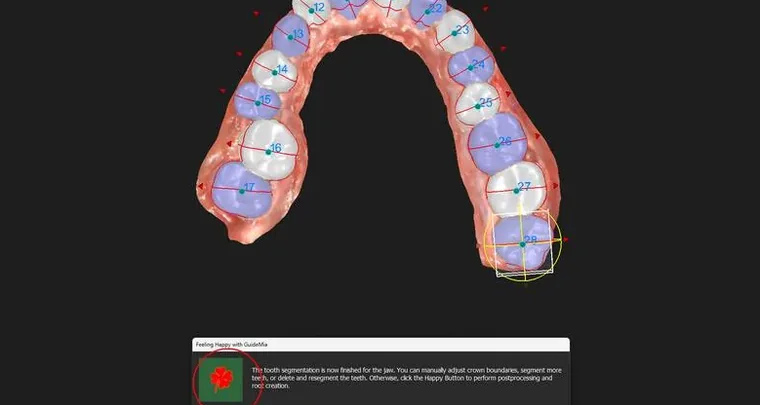
第 5 步,共 13 步
Segmenting the teeth
Separate every tooth from the arch with the AI Engine, check the flagged teeth first, and correct a boundary by hand where needed.
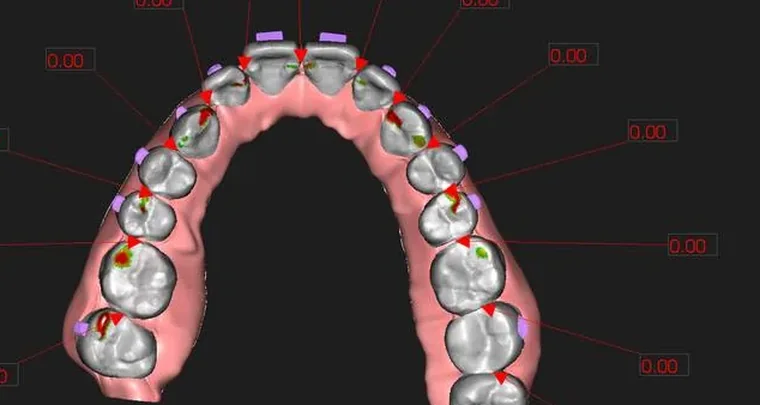
查看与诊断
测量并记录发现,与规划工具并行而非分离. 显示图是用来判断接触、骨骼与移动的彩色叠加层.
规划
牙齿移动、咬合调整与可视化:首次自动排牙、带 IPR 的移动规划,以及把移动分步并模拟.
第 6 步,共 13 步
The first alignment
GuideMia's automatic setup: the arch curves, the proposed final positions, and how to read them before touching a tooth.
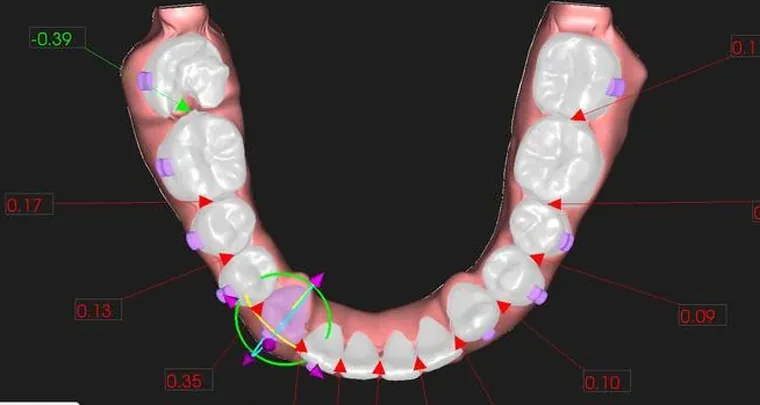
第 8 步,共 13 步
Movement planning and IPR
Adjust targets tooth by tooth, check interproximal reduction against the allowed limits, and settle the occlusion.
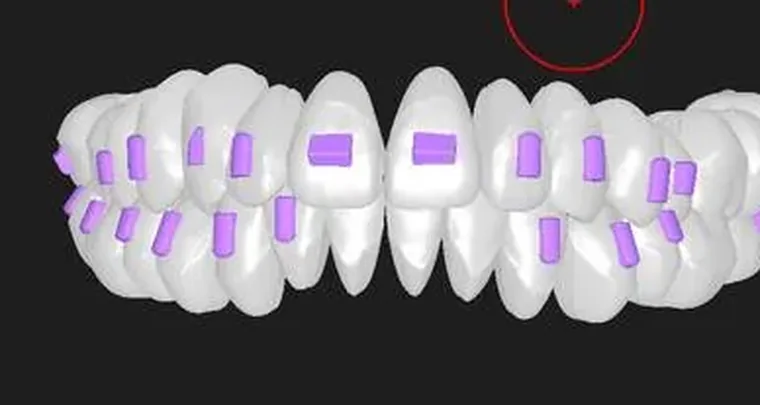
第 9 步,共 13 步
Staging and simulation
Automatic staging into steps, the movement table, the per-step limits in the movement profile, and playing the simulation.
设计
软件设计出制作矫治器所需的一切——附件、用于热压成型的整套牙弓模型,或用于直接打印的矫治器外壳本身.
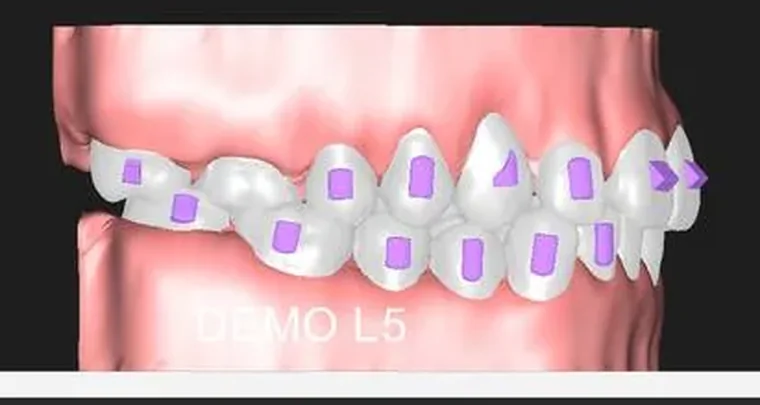
第 10 步,共 13 步
Attachments
Automatic attachment placement per movement, the attachment library, and editing them tooth by tooth.
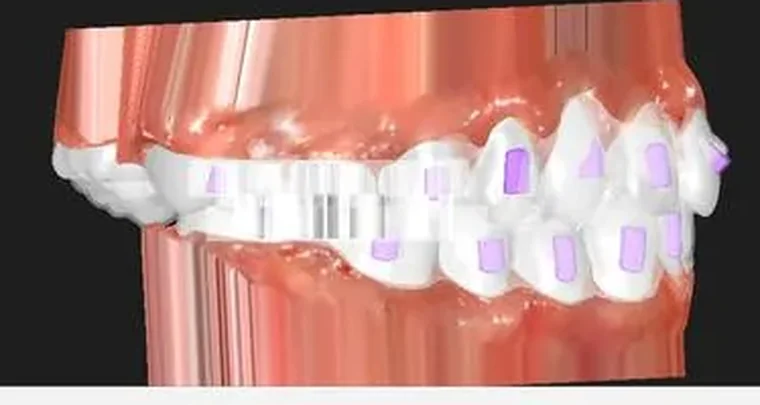
第 11 步,共 13 步
Case tags and generating the arch models
Put the case tag on the base, then generate the series of arch models — one per step — a lab prints and thermoforms over.
第 12 步,共 13 步
Generating the aligner files
Direct-print aligners instead of arch models: the boundary, the printer-specific parameters, and the files that come out.
制造与交付
技工所根据导出文件制作矫治器,几乎无需后处理. 制造本身不在指南范围内;最后一步介绍如何打包病例供网页审阅并保存.
输出什么
软件写出的文件,以及各自的用途.
| 输出 | 用途 |
|---|---|
| 牙弓模型,每步一个 | 打印后在其上热压成型矫治器 |
| 矫治器与保持器外壳 | 直接打印,无需热压 |
| 矫治器边界文件 | 审阅与调整每个外壳的切割线 |
| 矫治器修剪路径 | 驱动自动修剪机 |
| 托槽粘接导板 | 固定矫治器的间接粘接 |
| 牙齿、牙龈与附件的合并模型 | 可视化与病例分享 |
| 治疗报告 | 展示方案 |
开始之前
AI 引擎的硬件门槛
Windows 10 或更高版本、16 GB 内存和 NVIDIA RTX 显卡(RTX 2060 及以上). 低于此配置 OrthoPlus 仍可运行,但分割退回到基于曲率的方式,需要更多手工调整.
本病例没有 CBCT
指南跟随两份口内扫描. 有 CBCT 时,第 2 步之前会多出载入与配准两个阶段,并提供真实牙根、骨密度与牙根碰撞检查. 该分支此处不展开.
隐形矫治器,而非托槽
OrthoPlus 也能为固定矫治设计托槽粘接导板. 本病例全程走矫治器分支;托槽路径是另一套工作流程.
观看同样的步骤
GuideMia 频道的教程视频,展示各步所描述的病例环节.

