
Three different things leave the software at this point, and they go to three different places: the guide to whoever prints it, the project to your own storage, and the report to the surgery.
Export the guide
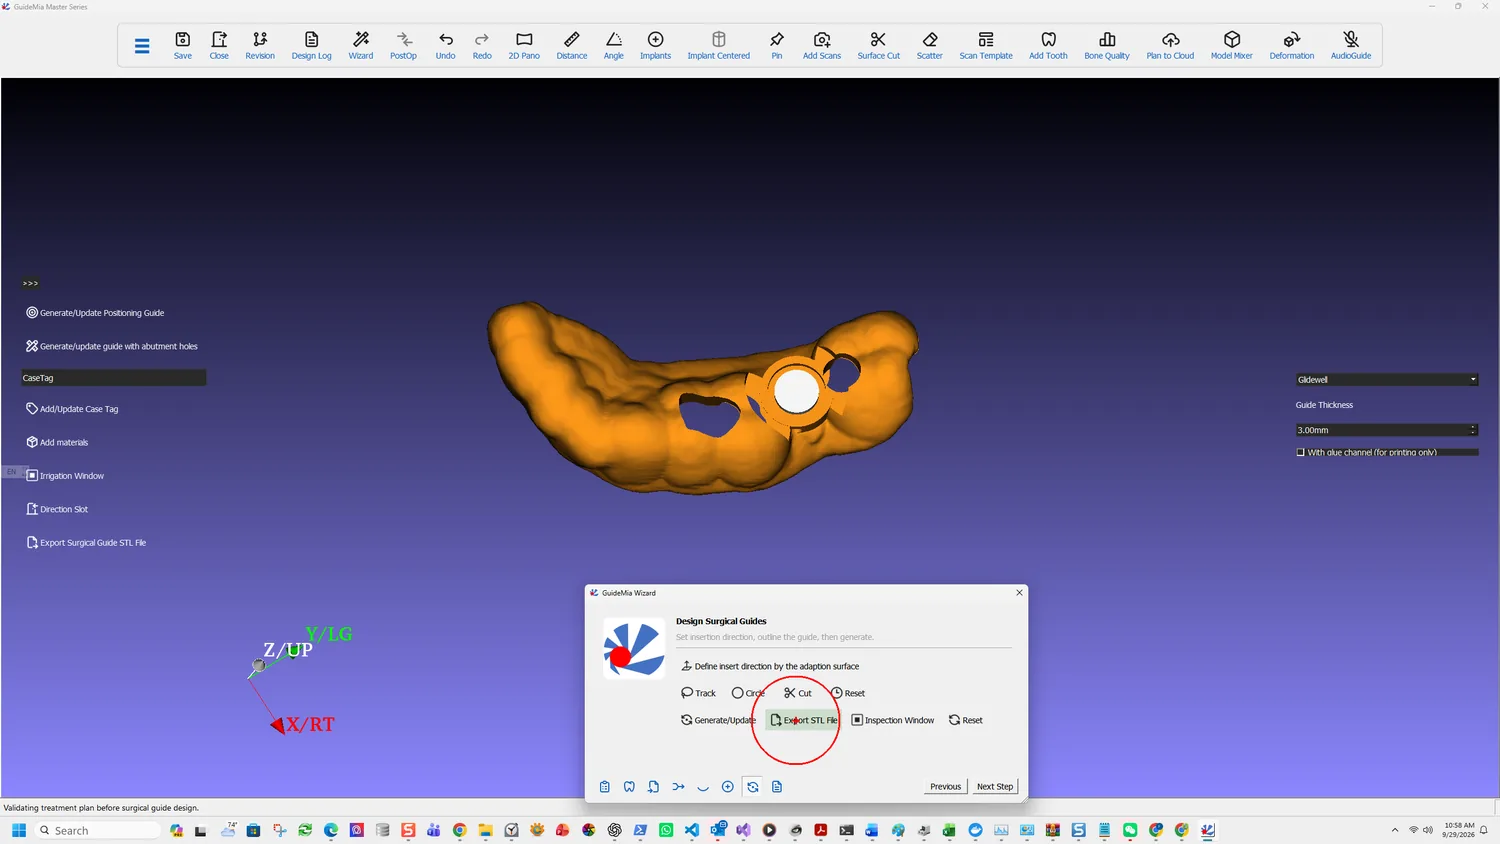
Export STL File writes the guide out for manufacture.
There is a second export worth knowing about, on the object's right-click menu: Export STL file at current orientation, alongside the ordinary Export STL file. The difference decides whether the file arrives on a print bed the right way up or has to be reoriented first — the plain export uses the model's own coordinates, the other uses how you are looking at it.
The toolbar also carries a general STL file export, and its status tip explains which object it acts on:
The system has two 3D windows. The left one is called working object window. The right one assembly window. In assembly window you can right click on any object and make it current using pop-up menu. It will then be displayed in the current object window. This export function will generate an STL file for the current object.
So current is a state you set, not a selection you make at export time. If the wrong object comes out, the fix is to make the right one current first.
Export DICOM file series is the other direction — it writes the volume of interest back out as DICOM, where the volume of interest is the area inside the rectangular boxes in the 2D windows.
Save the project
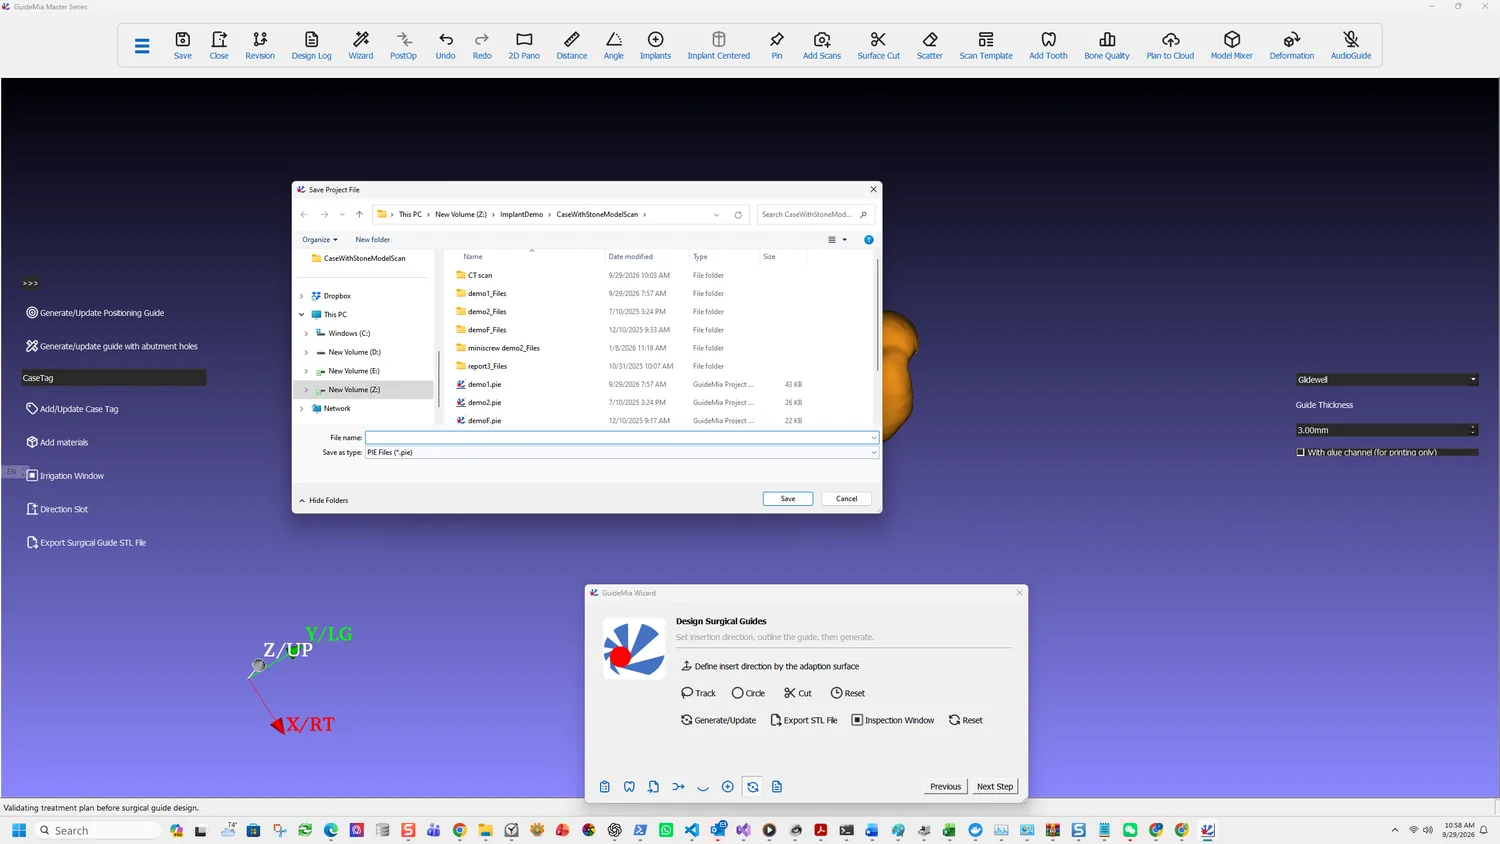
The project file carries the case: the volume, the models, the plan, the guide and the revisions. Save writes it; Open takes it back.
For sending a case elsewhere there is Save for Transfer, which produces a
package file rather than a project file. The distinction matters when a case
has to reach someone who does not have your folder structure — Open accepts
either.
Save Revision is separate and worth using deliberately. It stores the plan — the implants and their positions — under the case, so alternatives can be kept side by side and recalled with Switch to selected plan.
Generate the report
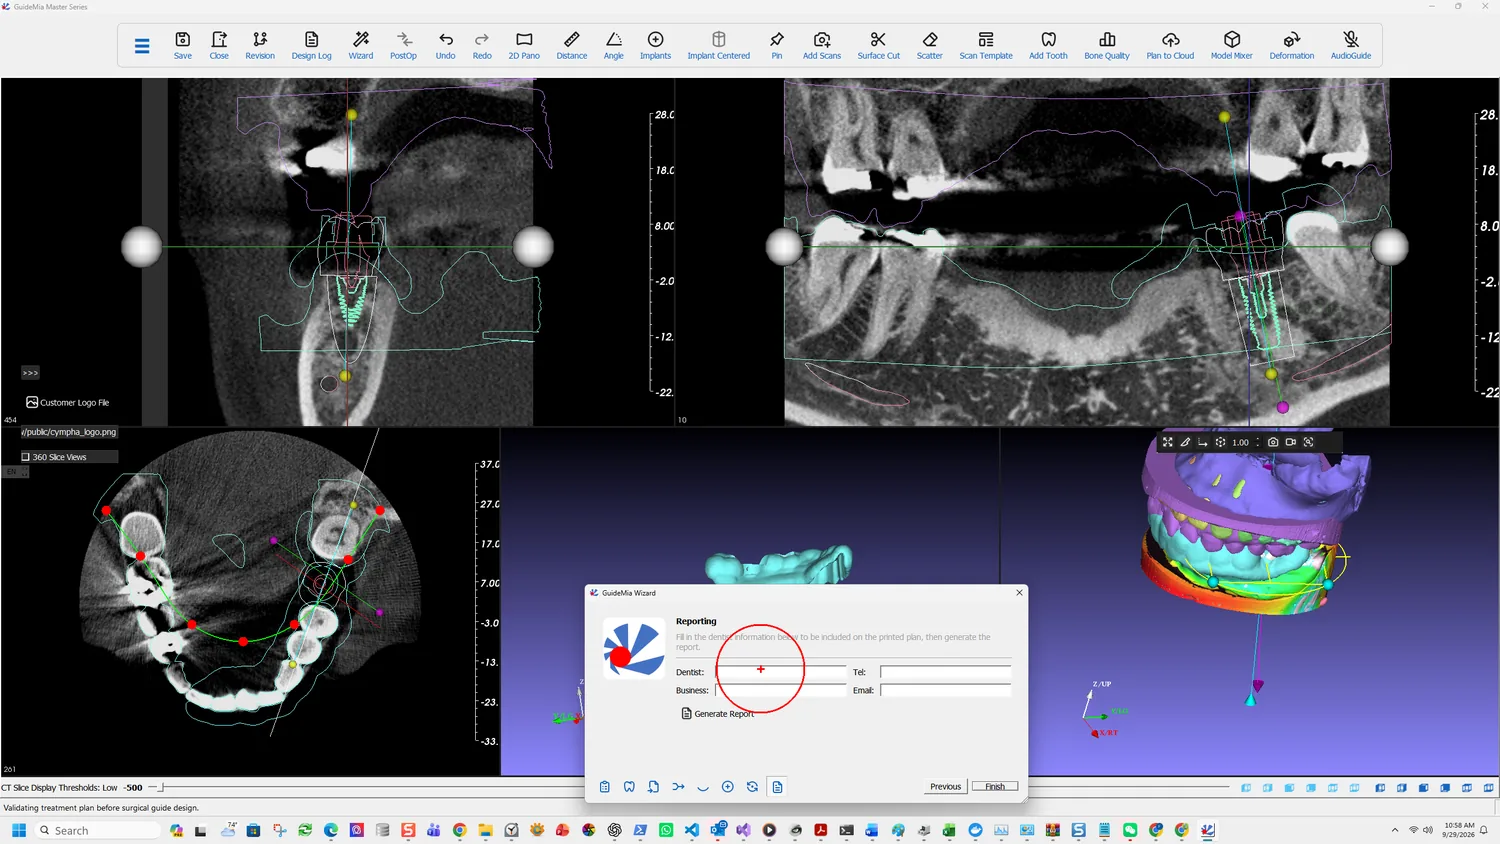
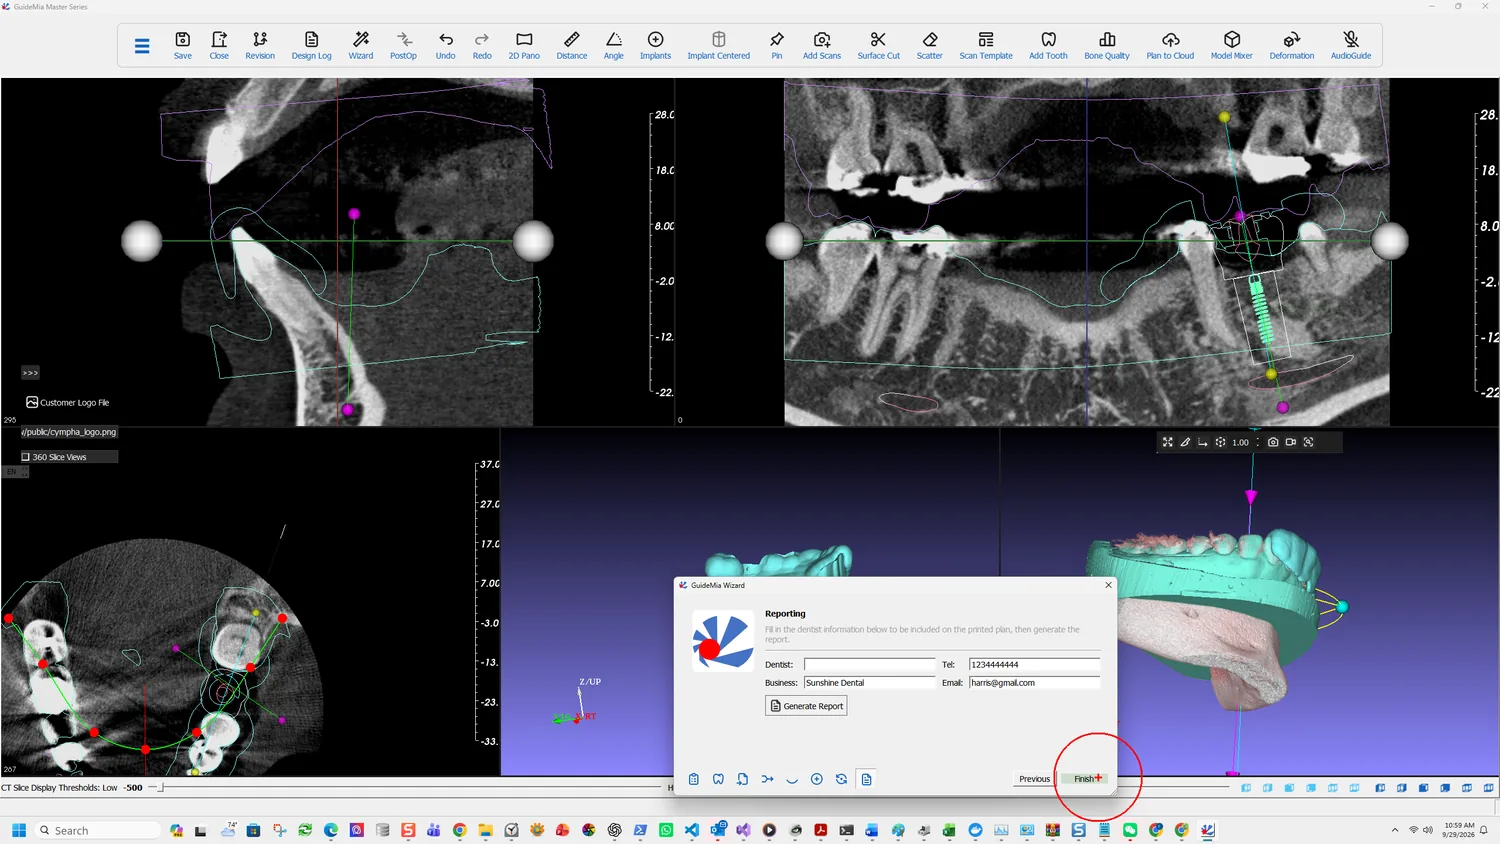
The Wizard asks for the practitioner before it will produce anything: "Fill in the dentist information below to be included on the printed plan, then generate the report."
Dentist, Business, Tel and Email. These print on the plan, and they are how a question about it reaches the person who made it.
Two options sit in the sidebar, both easy to miss:
- Customer Logo File — a logo to print on the report. A report that leaves the practice with a lab's or a clinic's own branding on it is a different document from one that does not.
- 360 Slice Views — includes a full rotation of slice views rather than the standard set.
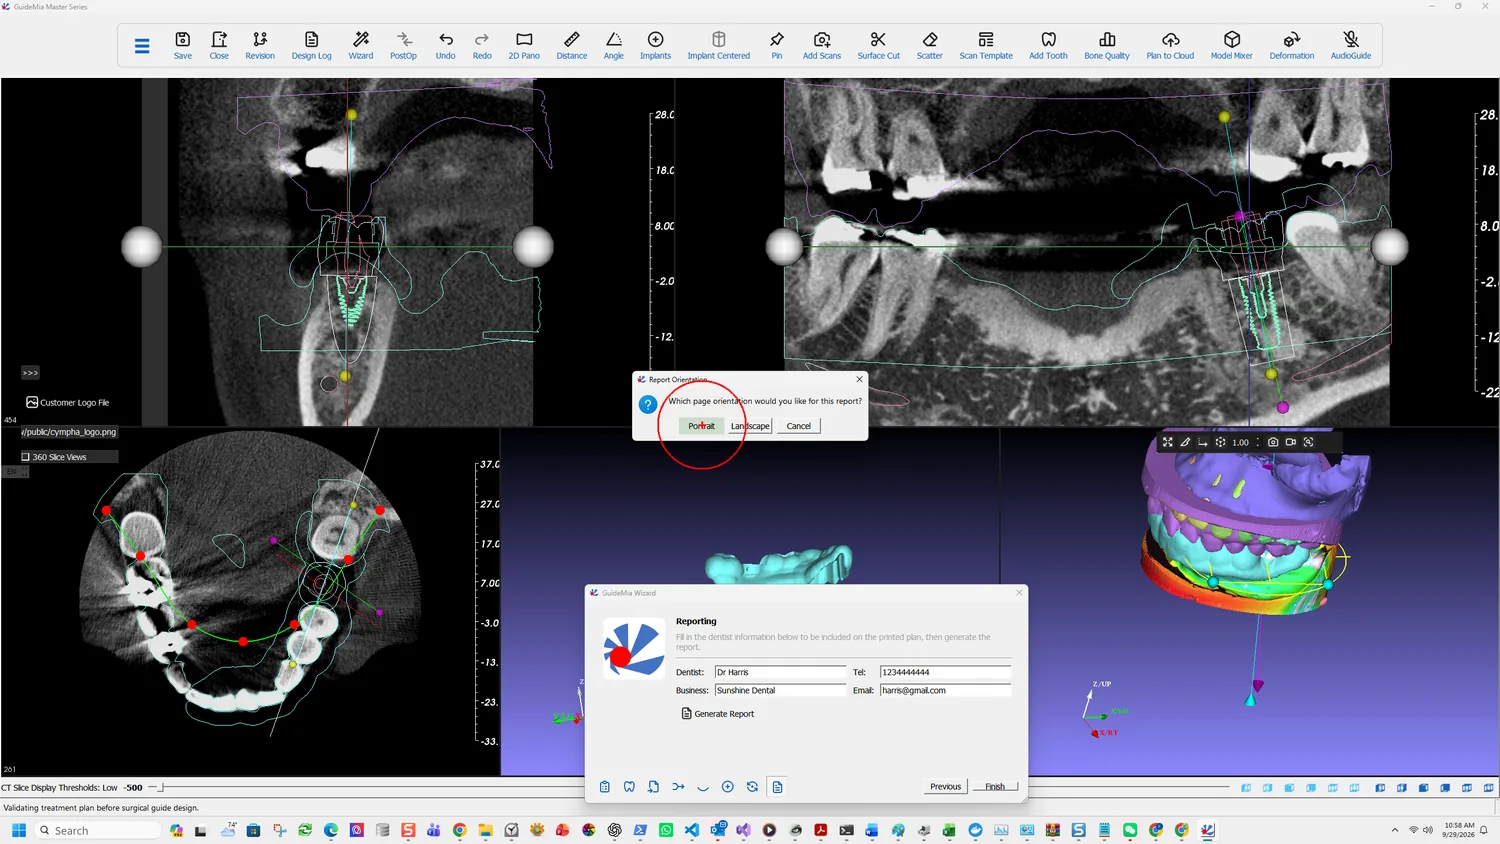
Generate Report then asks the one question the older releases left to the printer:
Which page orientation would you like for this report?
Portrait or Landscape. The report is largely tables, and landscape is what the release notes recommend — before this prompt existed, users had to remember to change the printer setting themselves.
Both an HTML file and a PDF are produced, in matching languages.
What the report contains
Provider and patient — who planned the case and who it is for, with the case number and planning date.
Disclaimer and acknowledgement, with a signature line for the prescribing doctor. It states where responsibility sits: examination and diagnosis, and the determination of a medically sound treatment plan, are the prescribing doctor's. It is signed, not merely included.
Plan overview, and a panoramic view of the same plan.
Implant list — a row per fixture with the tooth number in both notations, implant diameter, apical diameter, implant length, total drilling length, make and part number.
Anchor pins, with a count.
Drilling instructions, headed by the surgical tool kit the guide was built for. This is where the plan meets the physical instruments, and it carries the rules that follow: a guide is designed for its matching kit by default, and a pilot-drill-only guide has holes matching the pilot drills defined by the implant platform or the kit, or 2 mm, whichever is smaller.
That last section is the one to read before surgery rather than during it. See the surgical kit for how those sleeves and drills are designed, and kit customisation if the kit is your own.
Plan to Cloud on the toolbar sends the plan to Cympha rather than to a file, which is the route when the case is being reviewed by someone else rather than manufactured locally.
Design Log records what was done to the case. Revision manages the saved plans.