
This step exists only on a radiographic-guide case, and it is easy to skip because nothing obviously breaks if you do. The software disagrees: skipping it raises a plan validation warning at guide design.
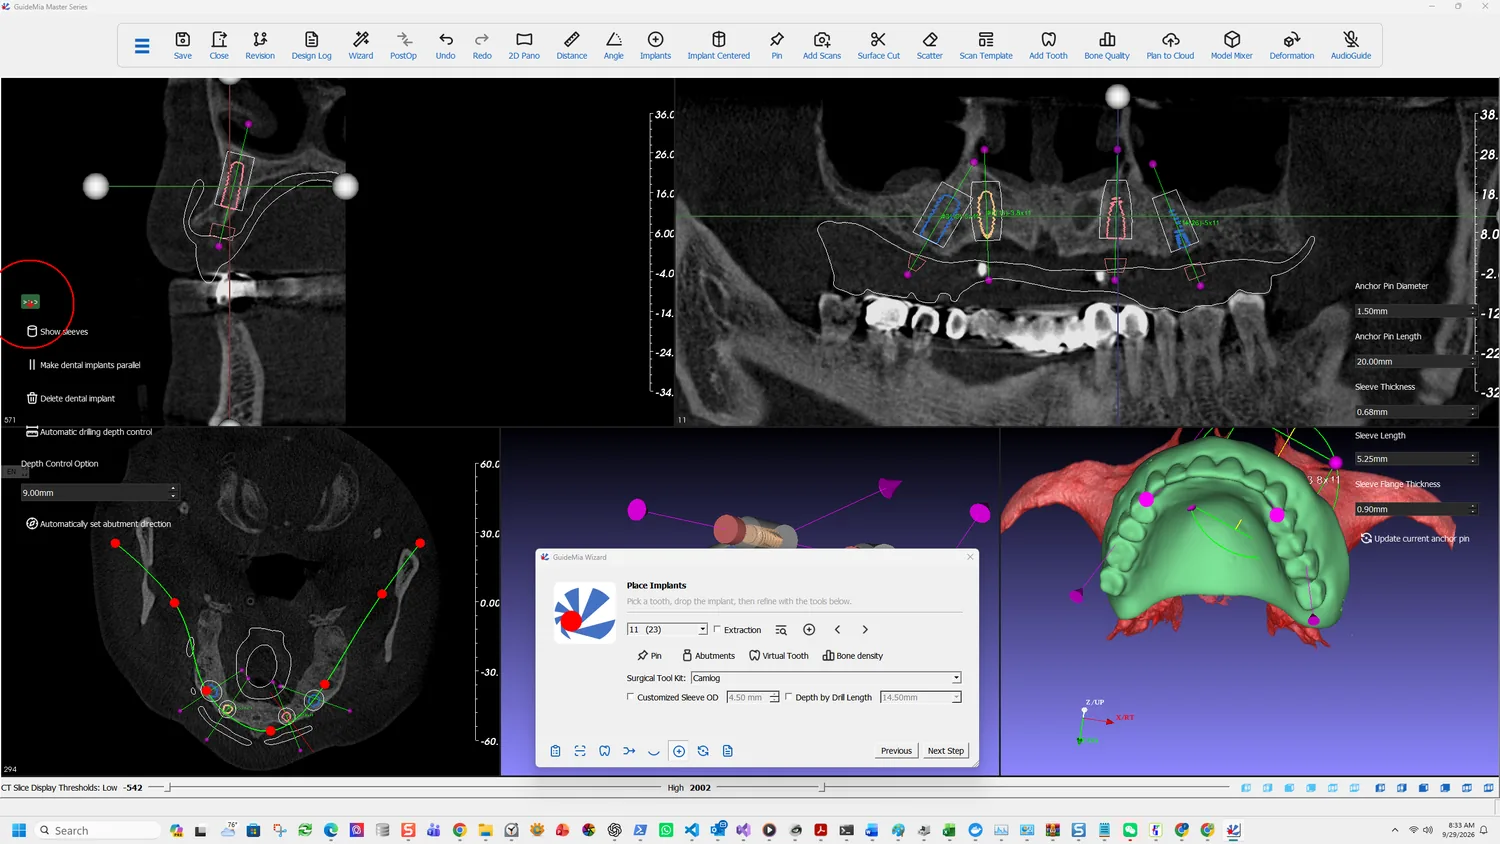
It is not on the Wizard. >>> opens the full workflow panel — "Turn on
the full workflow panel and access more functions" — and Virtual Tissue
Model is a page in it, between Model Registration and Nerve Channel
Definition.
What a virtual tissue model is
The manual defines it by analogy:
A geometric model generated based on CT scan dataset to simulate the actual soft tissues and tooth surfaces. Since this virtual model is similar to a stone model that typically includes soft tissue and tooth surfaces, the model is called virtual tissue model.
On a case planned from an intra-oral scan you already have that surface — the scan is it. On a radiographic-guide case you do not. What you have is a model of the guide, and the guide is an object that was made to sit on the tissue, not a record of the tissue itself. The virtual tissue model is how the software reconstructs the one from the other.
Setting the insertion direction first
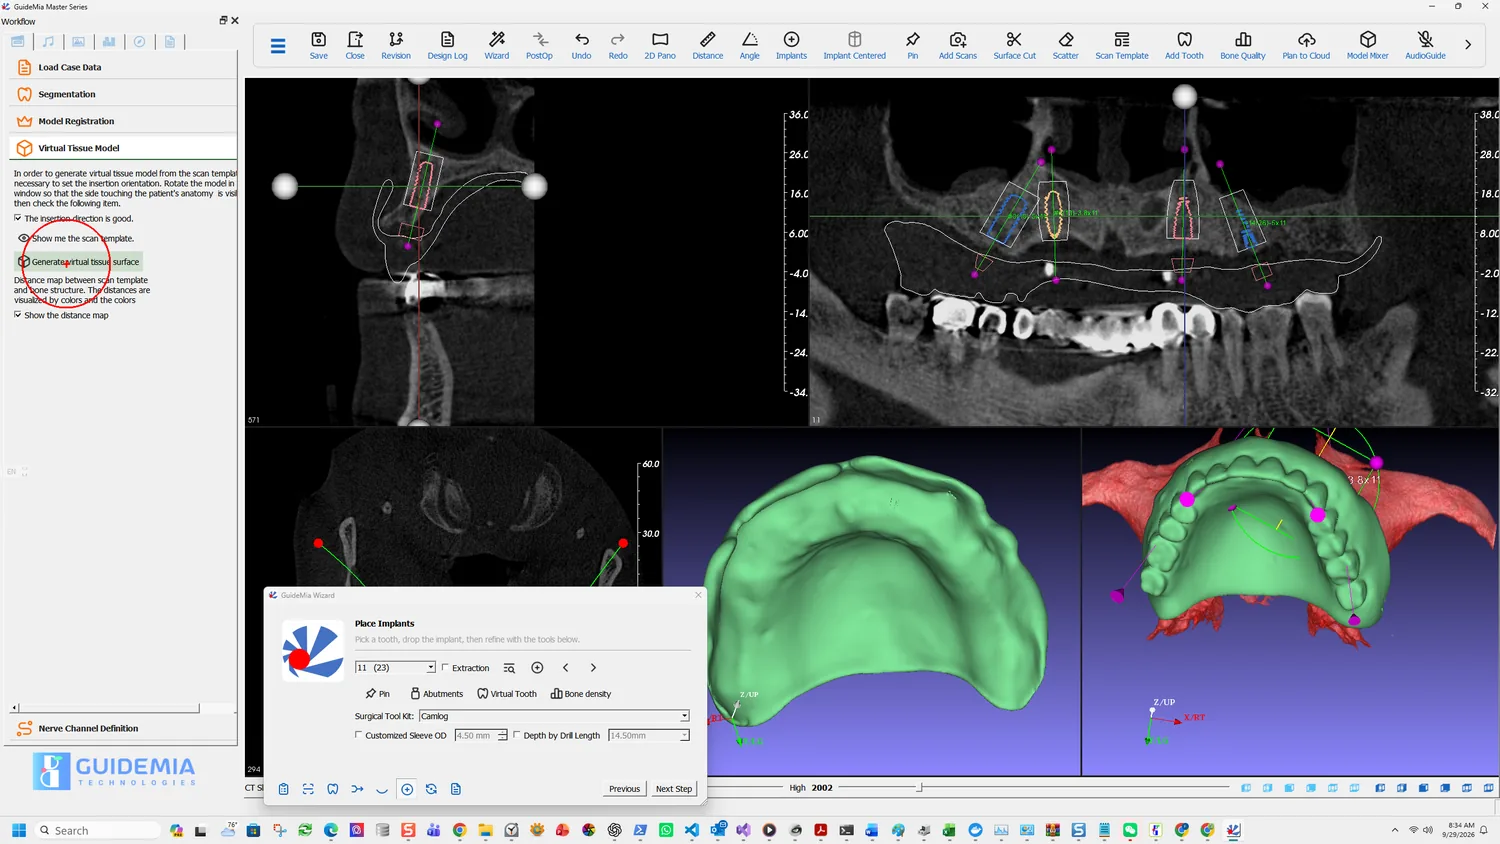
The page states the prerequisite in its own words:
In order to generate virtual tissue model from the scan template, [it is] necessary to set the insertion orientation. Rotate the model in [the] window so that the side touching the patient's anatomy is visible, then check the following item.
So the input is the camera again, exactly as in guide design. Turn the scan template over until you are looking at its fitting surface, then tick The insertion direction is good.
Show me the scan template displays it, which is what you rotate.
Generate virtual tissue surface then builds the model.
The distance map is the point
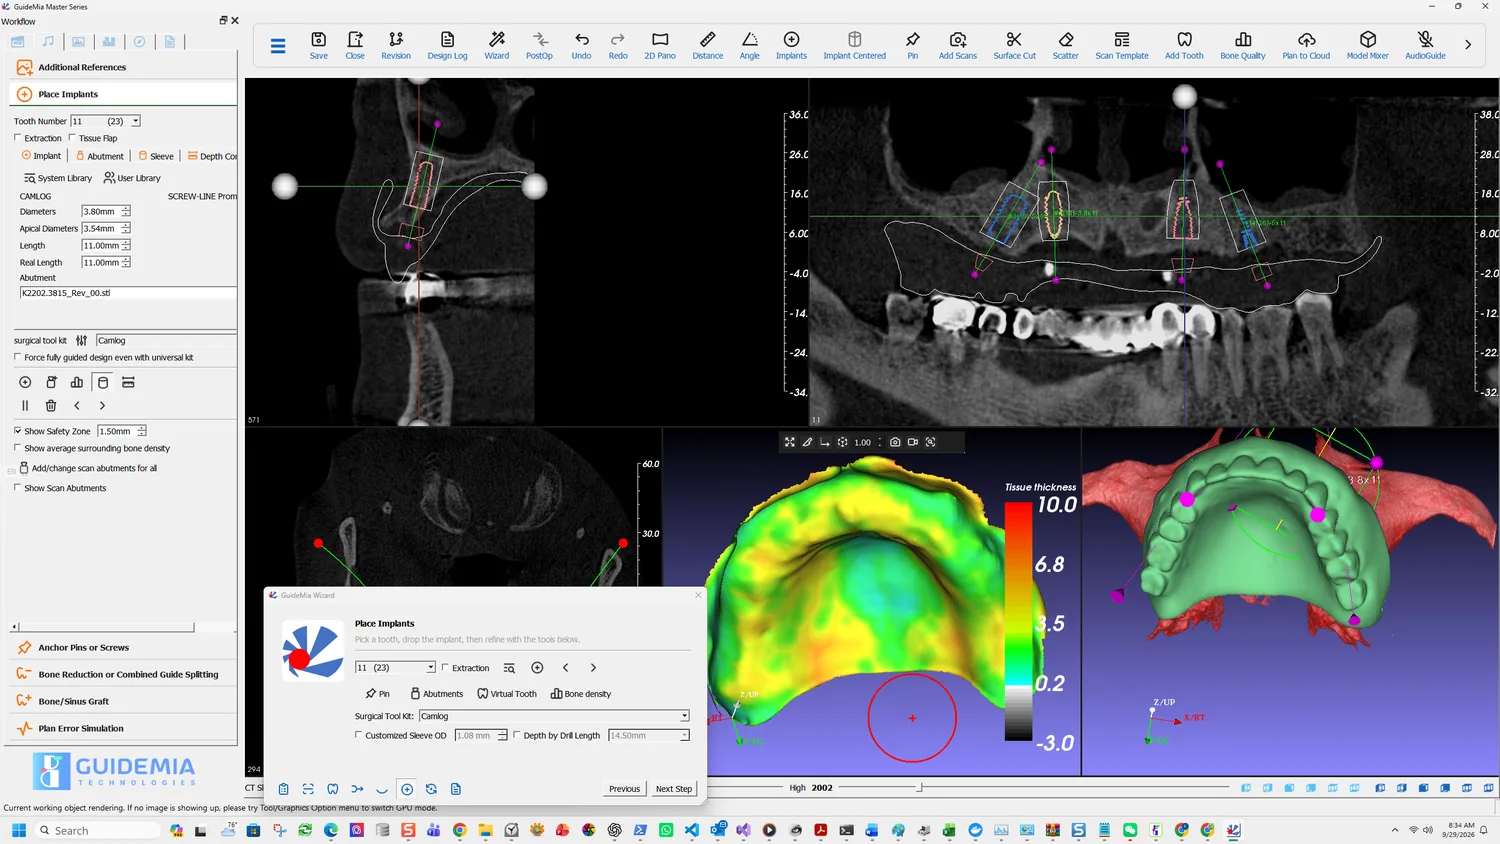
Along with the surface comes the thing this step is really for:
Distance map between scan template and bone structure. The distances are visualized by colors.
Tick Show the distance map and the model is recoloured, with a scale labelled Tissue thickness running from 10.0 at the top through 3.5 to 0.2, and into negative values at the bottom.
Read it as the soft tissue the guide is sitting on:
- Warm colours — thick tissue. The guide is bearing on several millimetres of mucosa. Mucosa is compressible, so a guide seated on it can be pressed further home than the plan assumed, and the drilling depth follows the guide.
- Green through pale — moderate. The working range.
- Towards zero and below — the guide is close to, or through, the bone surface. Negative tissue thickness means the scan template and the bone model intersect, which is either a registration error or a guide that does not actually fit the patient the way the scan suggests.
This is the same idea as fit analysis applied one step earlier: there you compare the finished guide against its base model, here you compare the base model against the bone.
Why the software insists
Skip this and guide design raises it, in the plan validation dialog:
The radiographic guide has not been inspected by creating a virtual tissue model and its distance map!
That wording is worth reading closely. The software does not call the model an output. It calls generating it an inspection — the step is there so that somebody looks at how the guide meets the tissue before a surgical guide is built on top of it.
On a fully edentulous arch that matters more than anywhere else in the software. There are no teeth to seat on, so the entire fit is mucosal, and mucosal thickness is the one variable that moves between the scan and the day of surgery.
The same workflow panel carries Nerve Channel Definition immediately below. On a maxillary case the canal is not the concern the sinus is, but the page is the same one, and the plan validation will report "No nerve model has been created" whether or not a nerve was relevant to your case — see the next chapter for how to read a warning that does not apply.