
The guide exists. These two features are cut into it, and both are added the same way — click the model to place, then drag handles to shape.
They are easy to treat as optional. They are not: one is how the surgeon confirms the guide is properly seated, the other is how the bone survives the drilling.
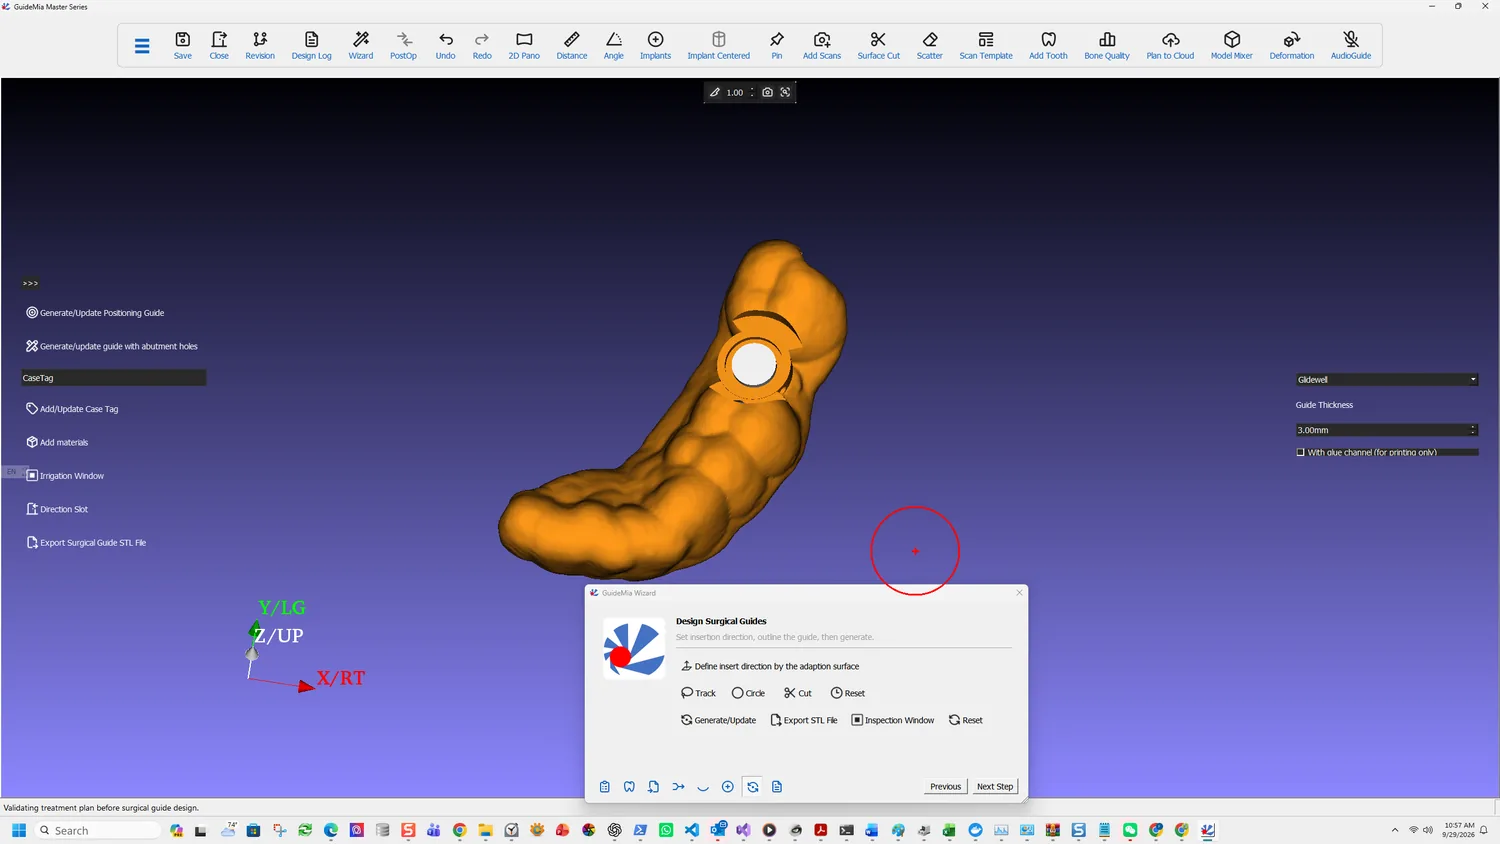
Inspection windows
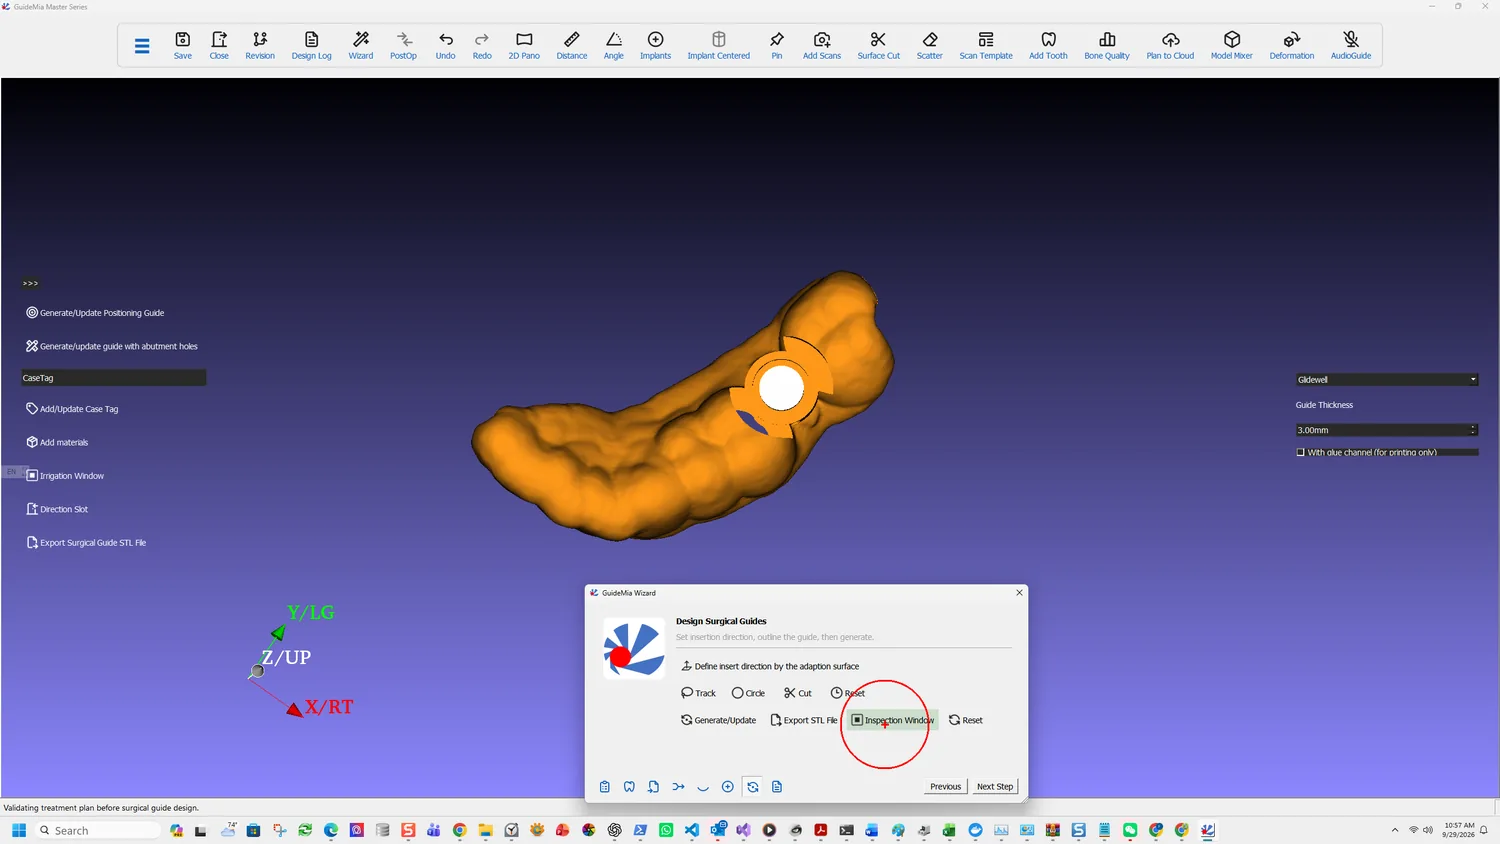
Add inspection window. Click on the model to add feature and manipulate it with handles.
An inspection window is an opening through the guide that lets the surgeon see the tissue underneath. Its purpose is confirmation: a guide that is not fully seated — rocking on a tooth, held off by soft tissue, sitting on debris — looks identical from outside to one that is. Through a window you can see the tooth surface it is supposed to be resting on.
Place them over the features that establish seating: the occlusal surfaces of the teeth the guide is supported by, particularly the ones furthest from the implant site, because those are where a rotation shows up first.
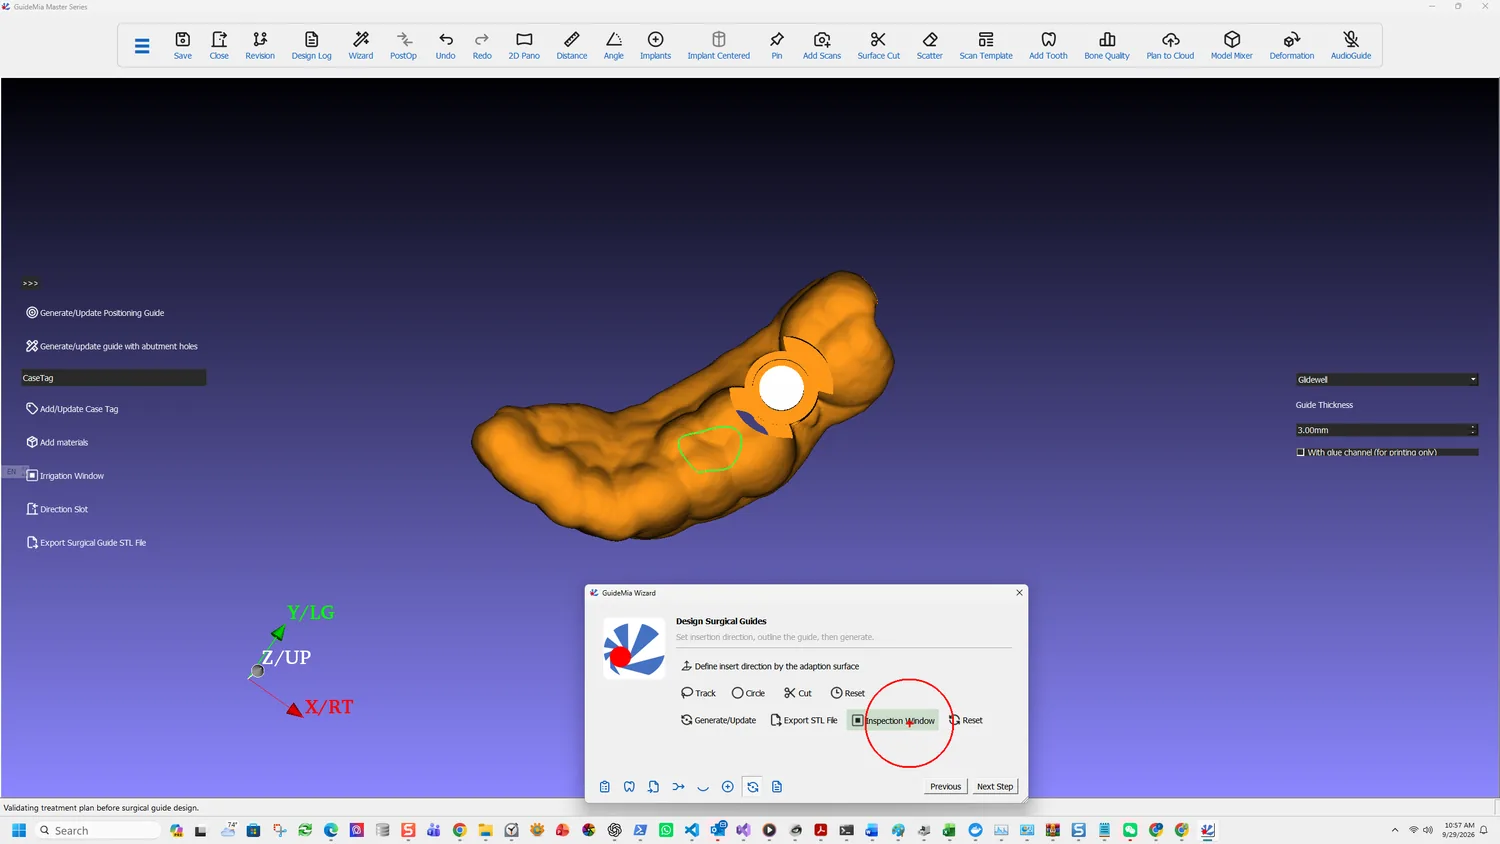
Handles resize and reposition the window after it is placed, so the first click only has to be roughly right.
Irrigation windows
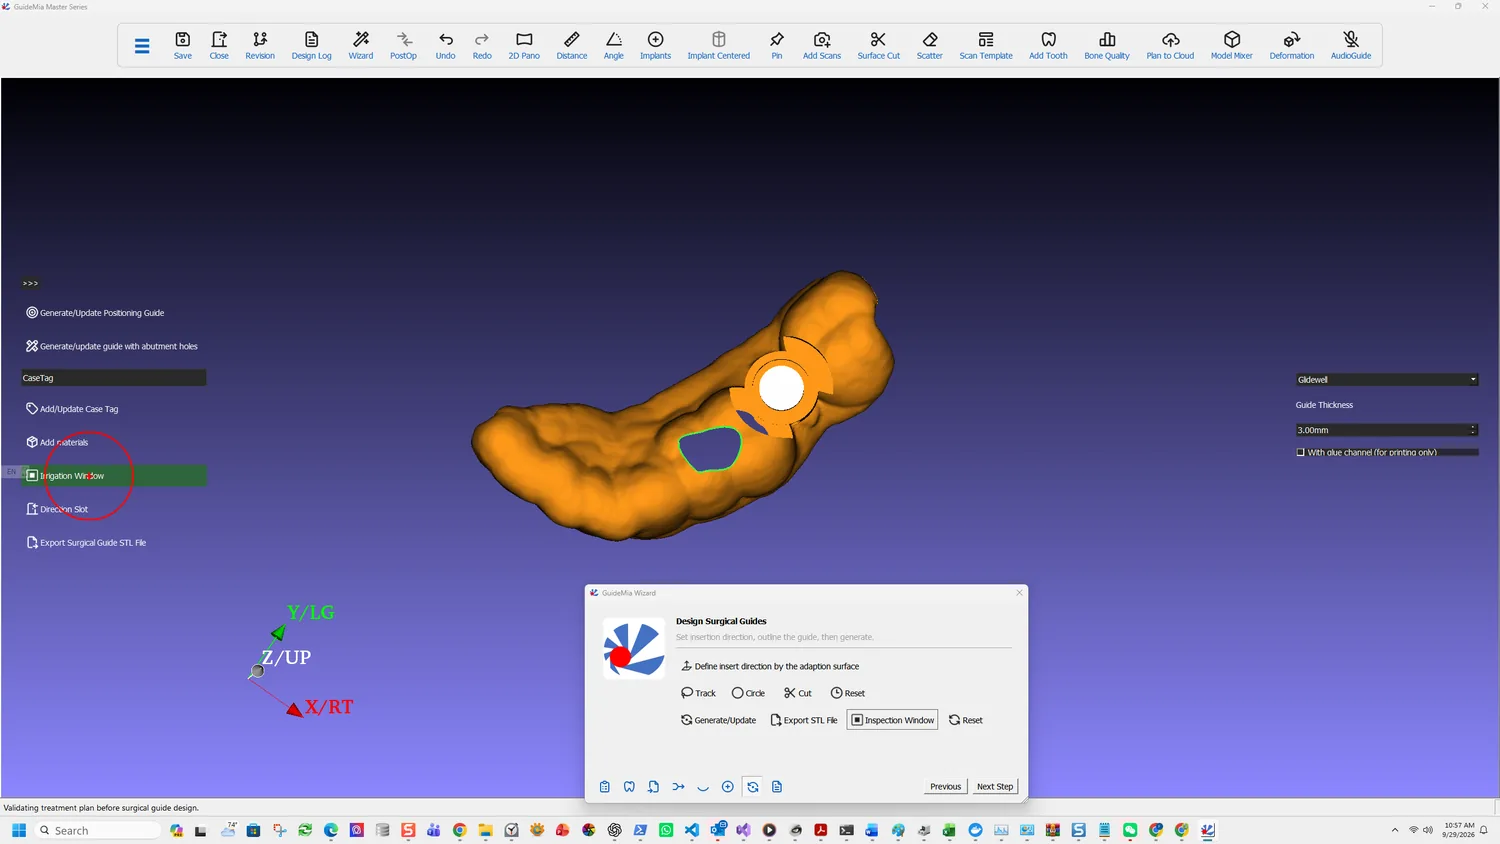
Add irrigation window. Click the model to place feature, and manipulate it by handles.
An irrigation window exists for heat. A guide covers the site it is drilling through, and a sleeve wraps the drill closely — which is exactly what stops coolant reaching the osteotomy. Bone is unforgiving about temperature, and overheating during preparation is a recognised cause of failed integration.
Place them adjacent to the sleeve, positioned so irrigant can reach the cutting site rather than run off the outside of the guide.
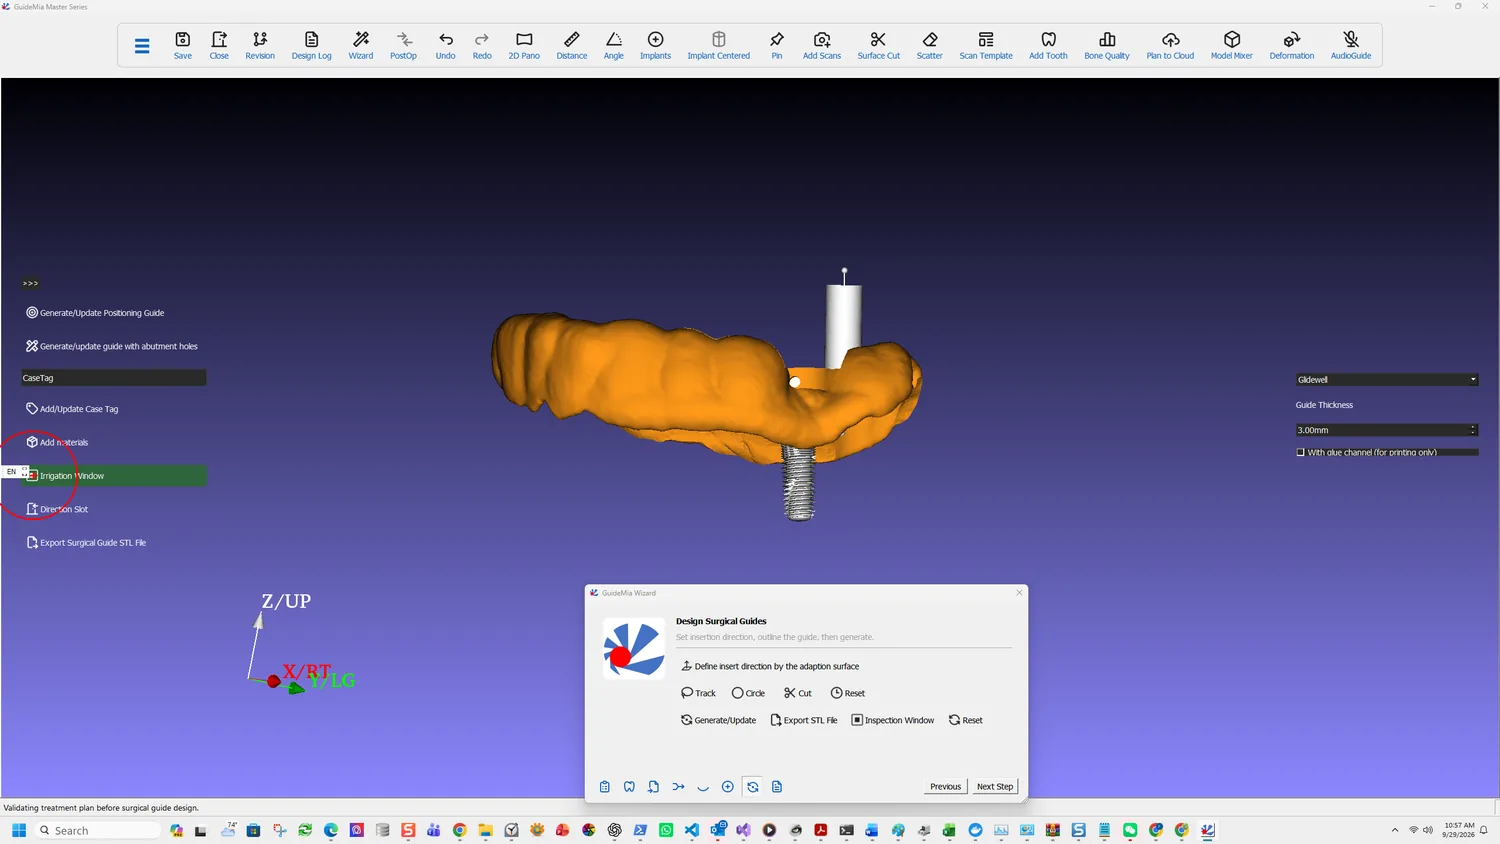
The two window types are separate features with separate buttons because they solve different problems and belong in different places — inspection over the support, irrigation beside the drilling.
What else goes on the guide
The sidebar carries the rest of the finishing work:
- Direction Slot — a feature marking the insertion direction, so the guide can only be seated the way it was designed to be.
- Add/Update Case Tag — text on the guide identifying the case. A printed guide with no marking is indistinguishable from any other printed guide, and they are not interchangeable.
- Add materials — adds material where the guide needs bulk. This is what the Extraction option in implant placement triggers automatically, and it can be applied by hand where a span needs support the remaining teeth cannot give.
- Generate/Update Positioning Guide and Generate/update guide with abutment holes — separate guide variants, generated from the same base.
Regenerating after a change
Windows survive a regeneration. If you return to planning, move a fixture, and come back to Generate/Update, the guide is rebuilt with the windows still in place. You do not replace them each time the plan moves — which is what makes it reasonable to add them before the plan is completely final.
Post Processing in the workflow panel holds the operations applied to a generated guide beyond these.
Right-clicking the guide in the assembly window reaches the object-level actions, which are the same for every object in the case: Register to, Hide and Hide in 2D, Model Mixer, Change Color, Start Positioning, Show Fit Analysis, Add block tool, Add tool body STL file, Export STL file and Export STL file at current orientation, Make Current, Set as part of surgical guide base, and Reverse normal.
Two of those matter here. Set as part of surgical guide base lets an additional object become part of what the guide is built from. And Export STL file at current orientation exports as you are looking at it rather than in the model's own coordinates, which is the difference between a file that drops onto a print bed correctly and one that has to be reoriented.