
This guide follows one aligner case from two scan files to a set of generated aligners. The case has no CBCT — just an upper and a lower optical scan — which is the common situation for clear aligner work and the one the software is happiest with.
Almost everything that follows is driven by a single control. The Happy Button sits at the bottom right of the window and always shows the next step of the workflow: press it, GuideMia does that step, and the button changes to name whatever comes next. You can leave the sequence at any point to do something by hand, and pressing the Happy Button again picks the thread back up. Most of this guide is a description of what happens between those presses.
Creating the project
Start with New Project without CT. The name is the important part: it tells GuideMia there is no radiographic data for this case, which changes what it can do later — most visibly when it comes to building roots, in step 4.
GuideMia then asks for the scans, one at a time, and the order matters:
Create a project with optical scan files but no CBCT scan. Select the upper jaw scan first. The lower jaw scan must be in an articulated position of the upper jaw scan.
Select the upper jaw scan first. The lower scan must already sit in an articulated position relative to the upper — GuideMia is not going to articulate them for you at this stage, and every occlusal judgement it makes from here on assumes the bite you hand it is the bite the patient has.
Scans can be STL, PLY or OBJ.
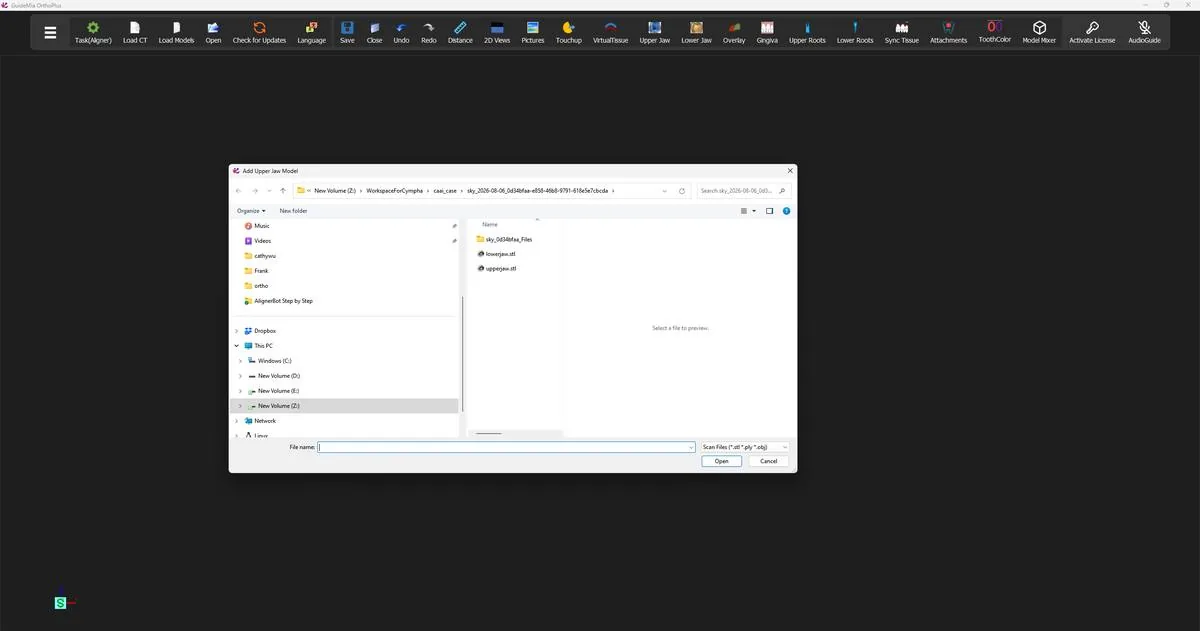 The file selection dialog, with the upper jaw scan chosen first.
Confirming the pair
Once both scans are loaded GuideMia asks you to confirm before it commits them to the project. Answer Yes and the two arches appear together in the 3D window, in occlusion.
This is the first moment worth stopping at. Look at the pair from the front and from the side. If the arches interpenetrate badly, or sit apart, or one is rotated relative to the other, the articulation in the scan files is wrong — and it is far cheaper to fix that now, in your scanning software, than to discover it during movement planning six steps from now.
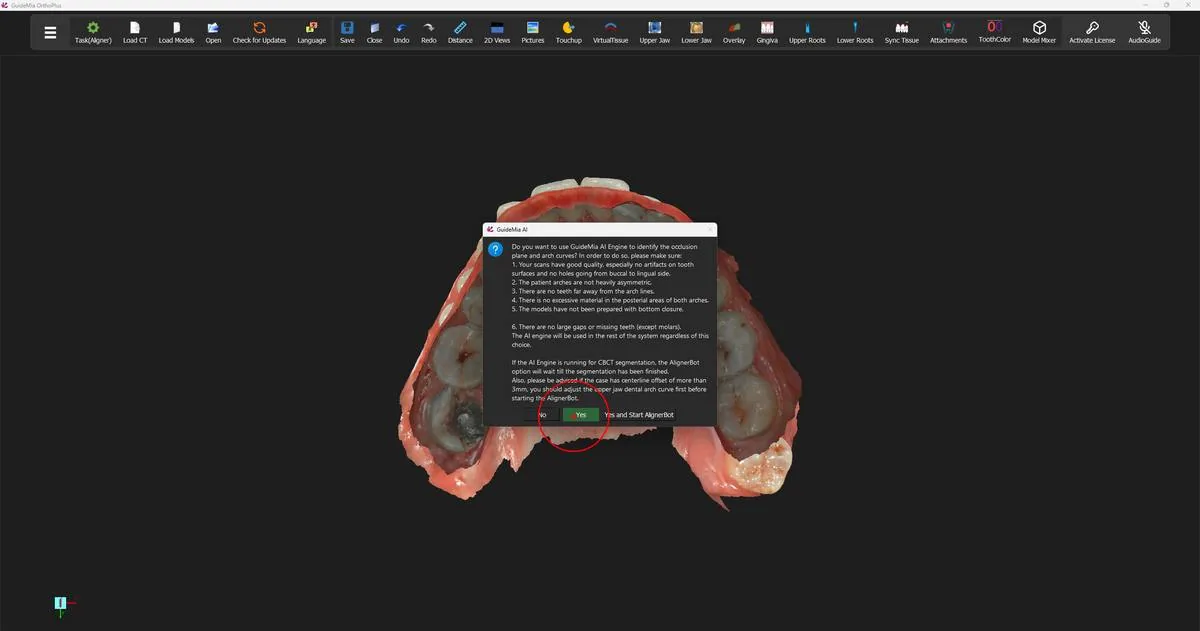 Both arches loaded and in occlusion, ready for the workflow to begin.
Where you are now
The project exists and holds two arches in their scanned bite. Nothing has been analysed yet — GuideMia has two surfaces and no idea where the occlusal plane lies or where one tooth ends and the next begins. Establishing the first of those is the next step.
The demo loads a case and moves straight on. The Load Case Data section of the workflow panel carries more than the demo used:
| Control | What it is for |
|---|---|
| "New Project without CT" | An optical-scan case, as used here |
| "Add Optical Scan" | Bring another scan into an existing project |
| "Add Impression Scan" | Load a scan of an impression rather than a model |
| "Case Information" | The case's stored details, including any earlier plans |
| "Switch to selected plan" | Move between plans held against the same case |
If your case does have a CBCT, this is where the workflow diverges: the project is created with the CT, and two further stages — loading and registering the radiographic data — sit between here and step 2. That path is not covered in this guide.