
Part One is the prerequisite for this part, not an alternative to it. The thirteen steps are the same and are not repeated here; what follows is the work a full arch needs and a single unit does not.
The case this part follows is a maxillary full arch on a radiographic guide — four fixtures, three anchor pins, a tissue/tooth-borne guide, planned against the Camlog kit. It begins differently from Part One at the second dialog.
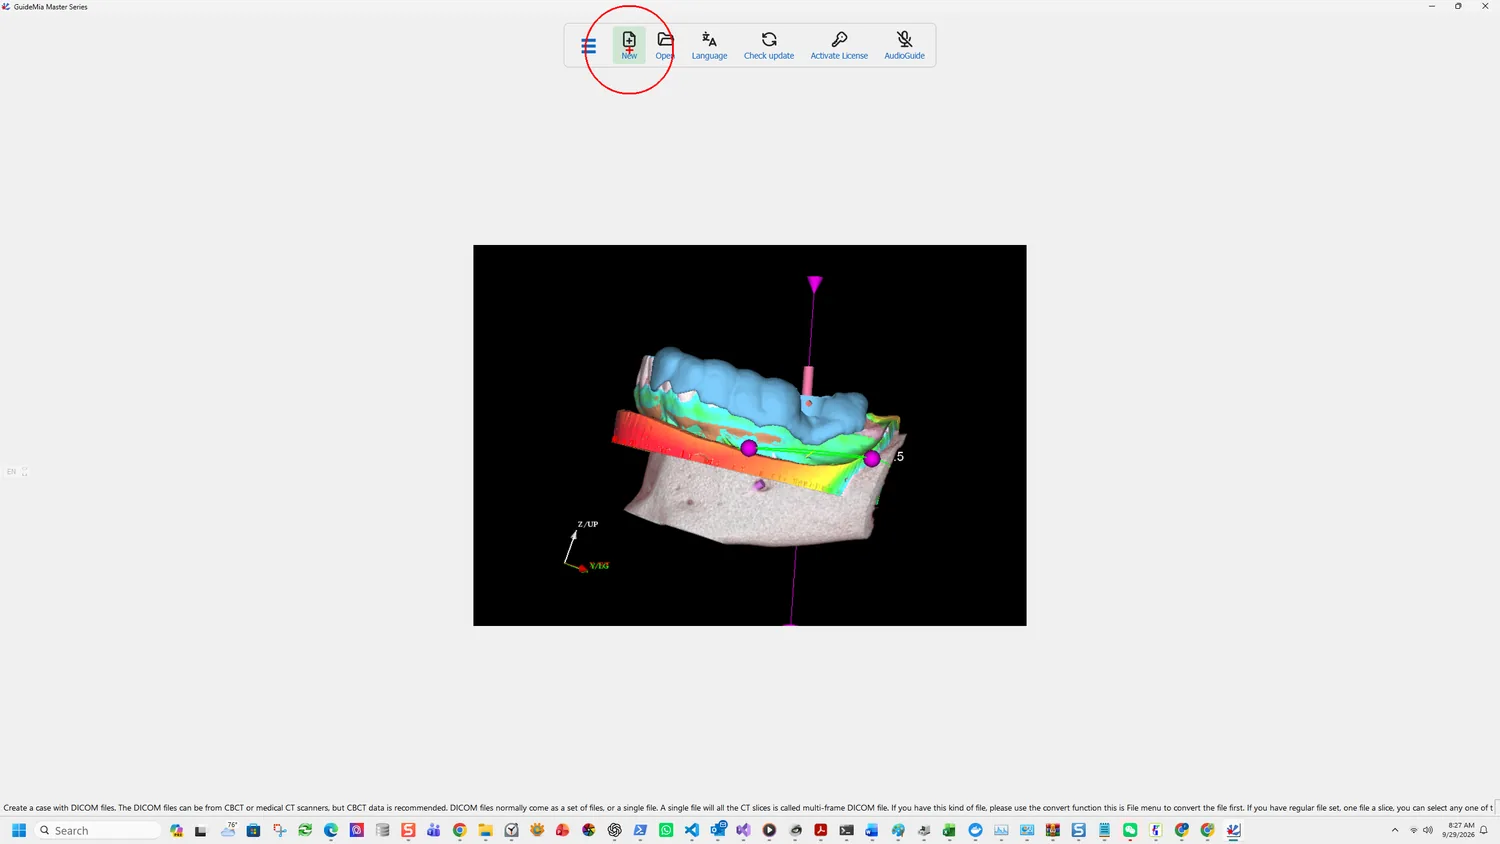
Why this case is not an optical scan case
A full arch is very often the case the optical protocols cannot serve, and the software says why on the button itself:
Load Radiographic Guide CBCT scan or optical scan. Radiographic guides are for two categories of cases. First, for fully edentulous case, you use radiographic guides to represent the gum surface and the possible tooth arrangements. Secondly, for some partially edentulous cases, when there isn't enough natural tooth area for registering the CBCT data and a model scan, for example, a patient may have a long bridge from metal or ceramics, which can cause a lot of scatters in the CT scan. For this kind of situations, using radiographic guides can help get clear gingiva the tooth surfaces.
Both halves of that describe a full arch. An edentulous ridge has no tooth surfaces to scan and no tooth arrangement to plan against, so the guide has to carry both. And where teeth remain, they are often the heavily restored ones that scatter the CT.
So Part Two takes the dual scan with radiographic guide protocol from step 2, and the guide itself was made before anyone opened the software — to the checklist in before you start: 2.5-4 mm thick, no metal, 6-8 spherical markers of 1.5-2.5 mm, half lingual and half buccal, deliberately unevenly distributed.
Declining the AI
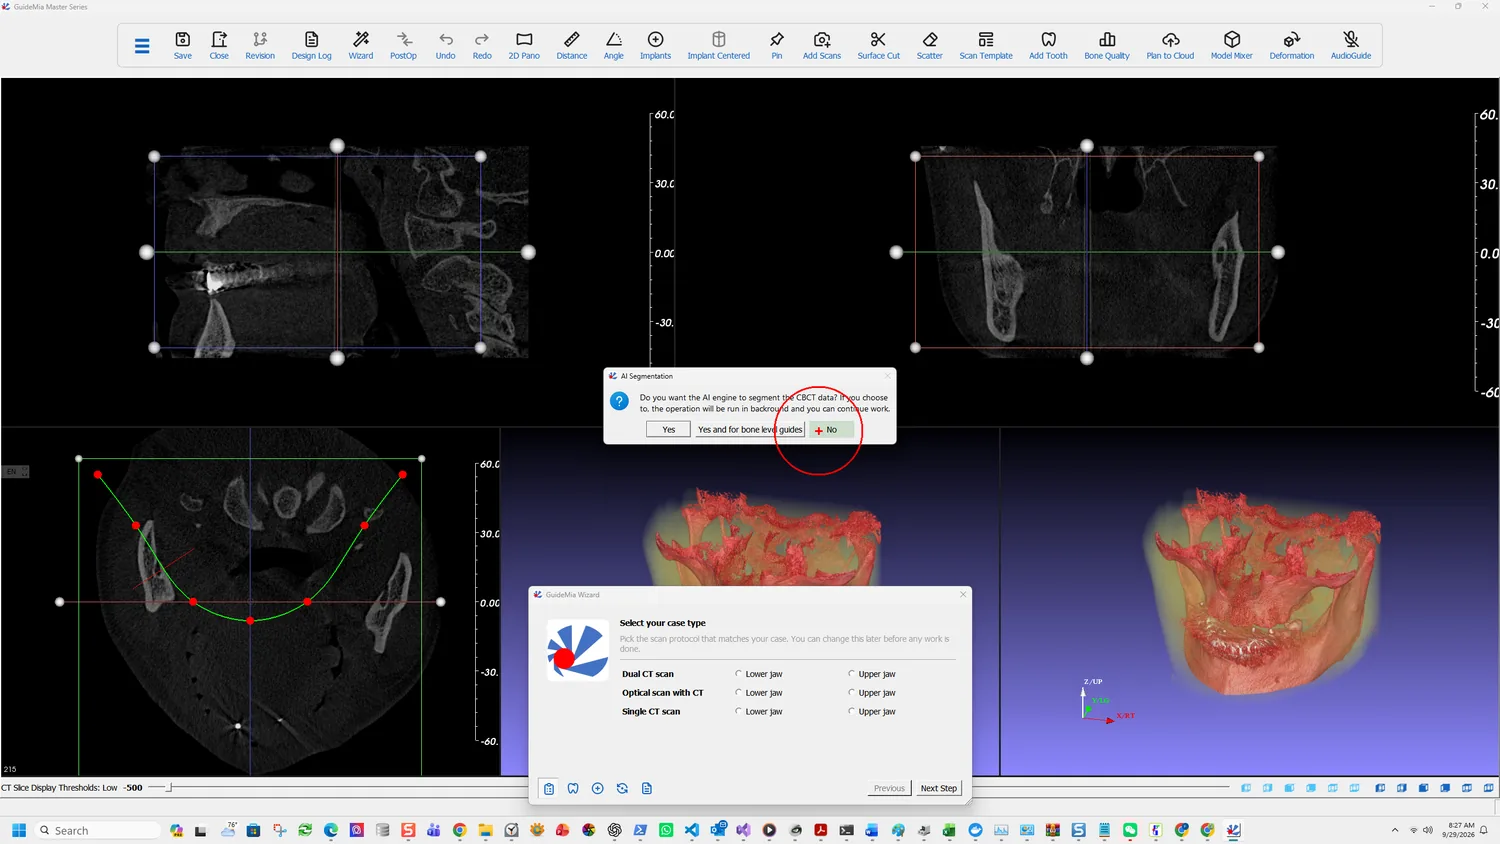
This case answers No at the opening prompt, which is worth understanding rather than copying. AI segmentation is built around teeth and roots; on a fully edentulous maxilla there are none to find, and the bone here is thin-walled and pneumatised. Declining it means segmentation is done in full by hand, with thresholds, region of interest and seed points.
You can still press AI Segmentation on the segmentation page afterwards. What you lose by answering No is only the head start, not the option.
Loading the radiographic guide
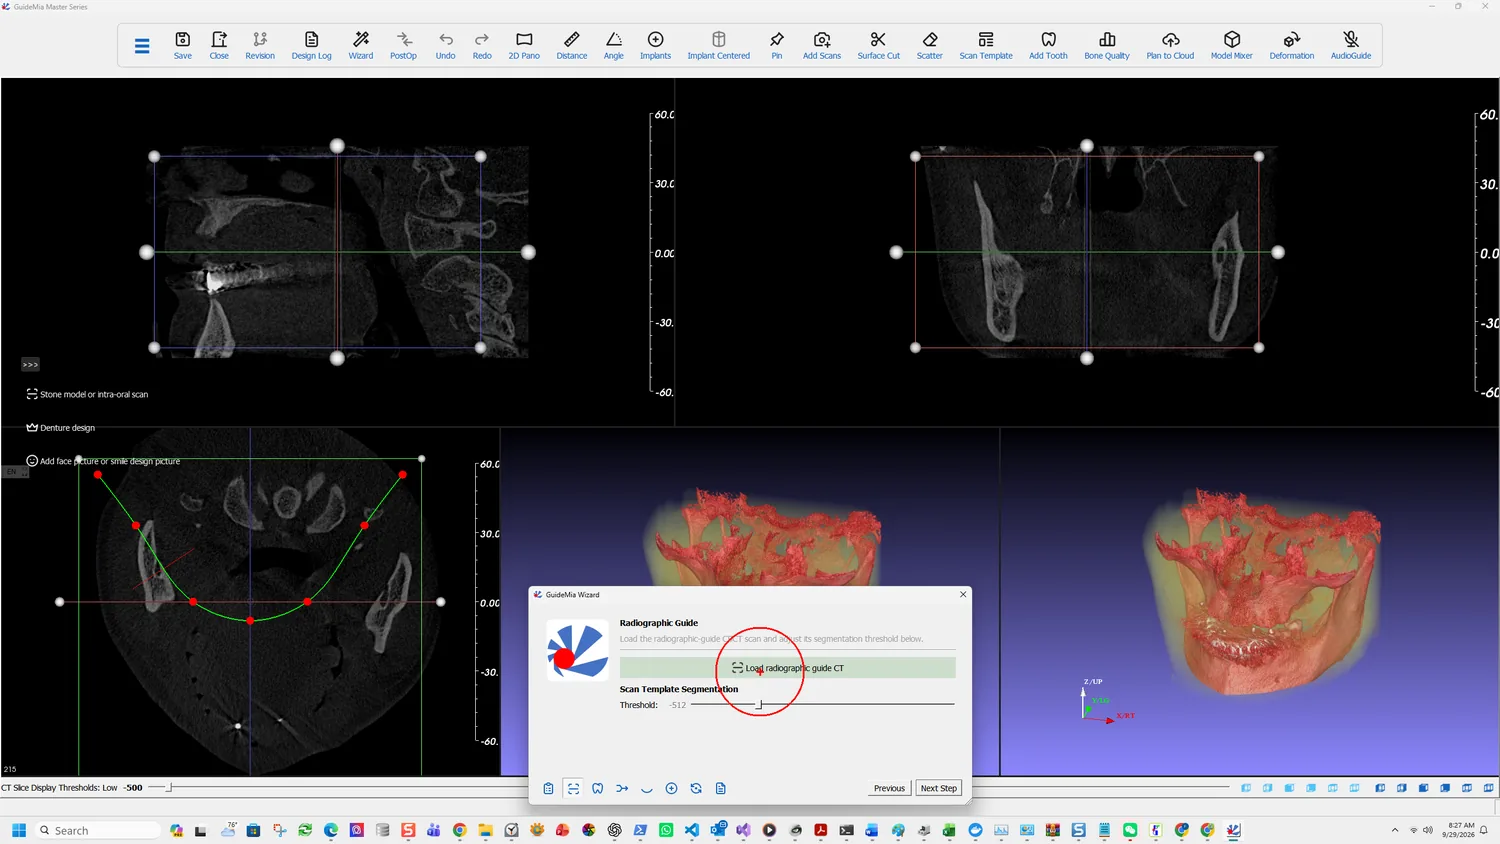
The Wizard's page is short: "Load the radiographic-guide CBCT scan and adjust its segmentation threshold below."
Load radiographic guide CT takes the second DICOM series — the scan of the guide alone, not the patient wearing it.
Scan Template Segmentation → Threshold is the control that decides how accurate this case can be, and it reads −512 here. It is not a cosmetic setting. The manual is specific about how to choose it:
When adjusting the threshold, measure the digital model displayed on the screen and the physical model to make sure the threshold is set such that the reconstructed model replicate the size and thickness of the physical model.
Put callipers on the physical guide, measure the same feature on screen, and move the threshold until they agree. A threshold set by eye produces a guide model of the wrong thickness, and that error carries all the way through to the fit of the printed guide. See accuracy.
The sidebar carries the other reference models this page can take: Stone model or intra-oral scan, Denture design, and Add face picture or smile design picture.
Segmenting the bone by hand
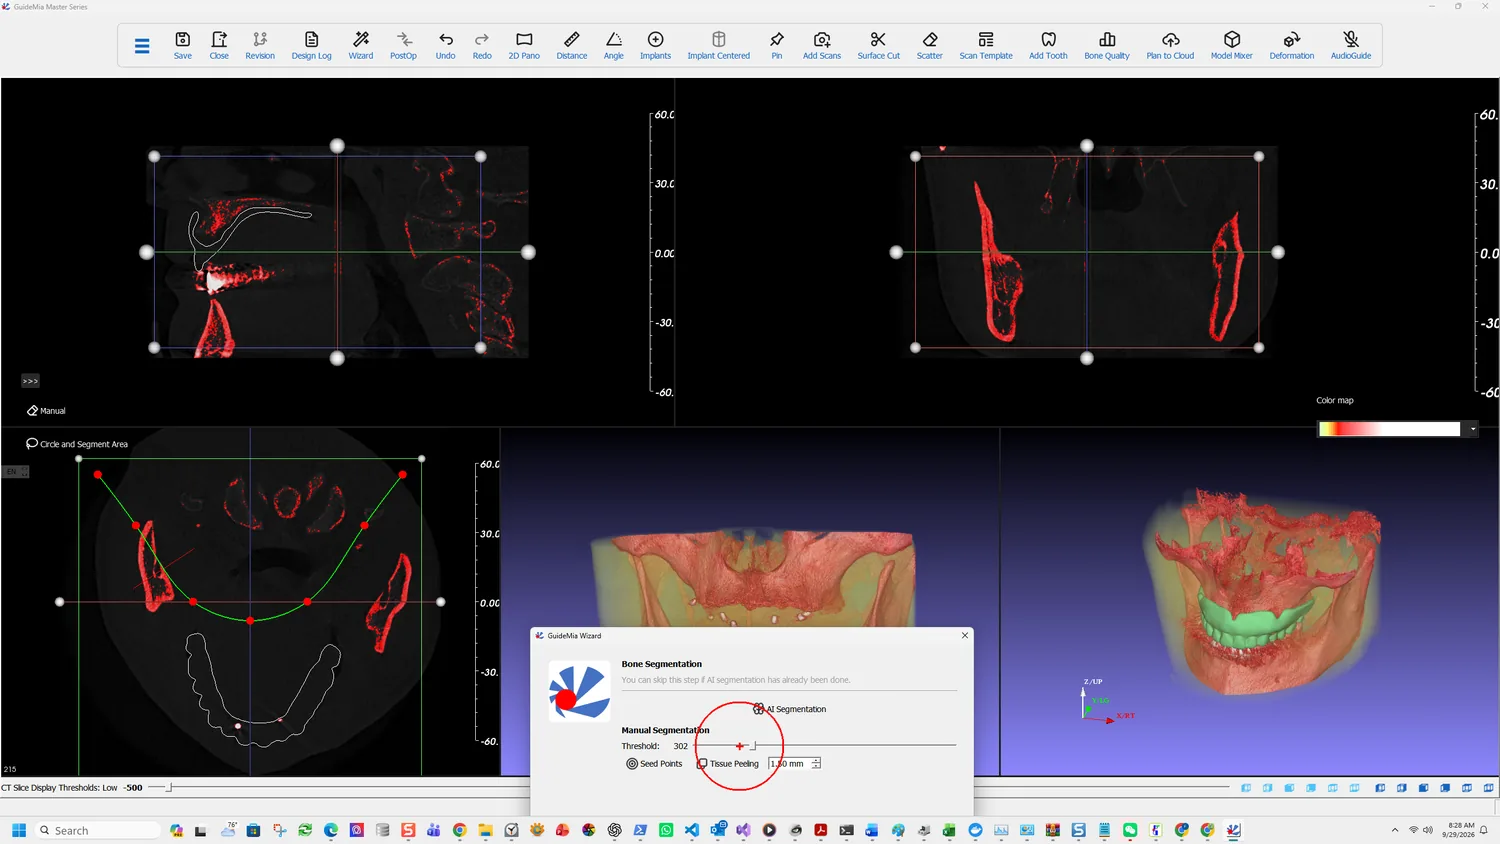
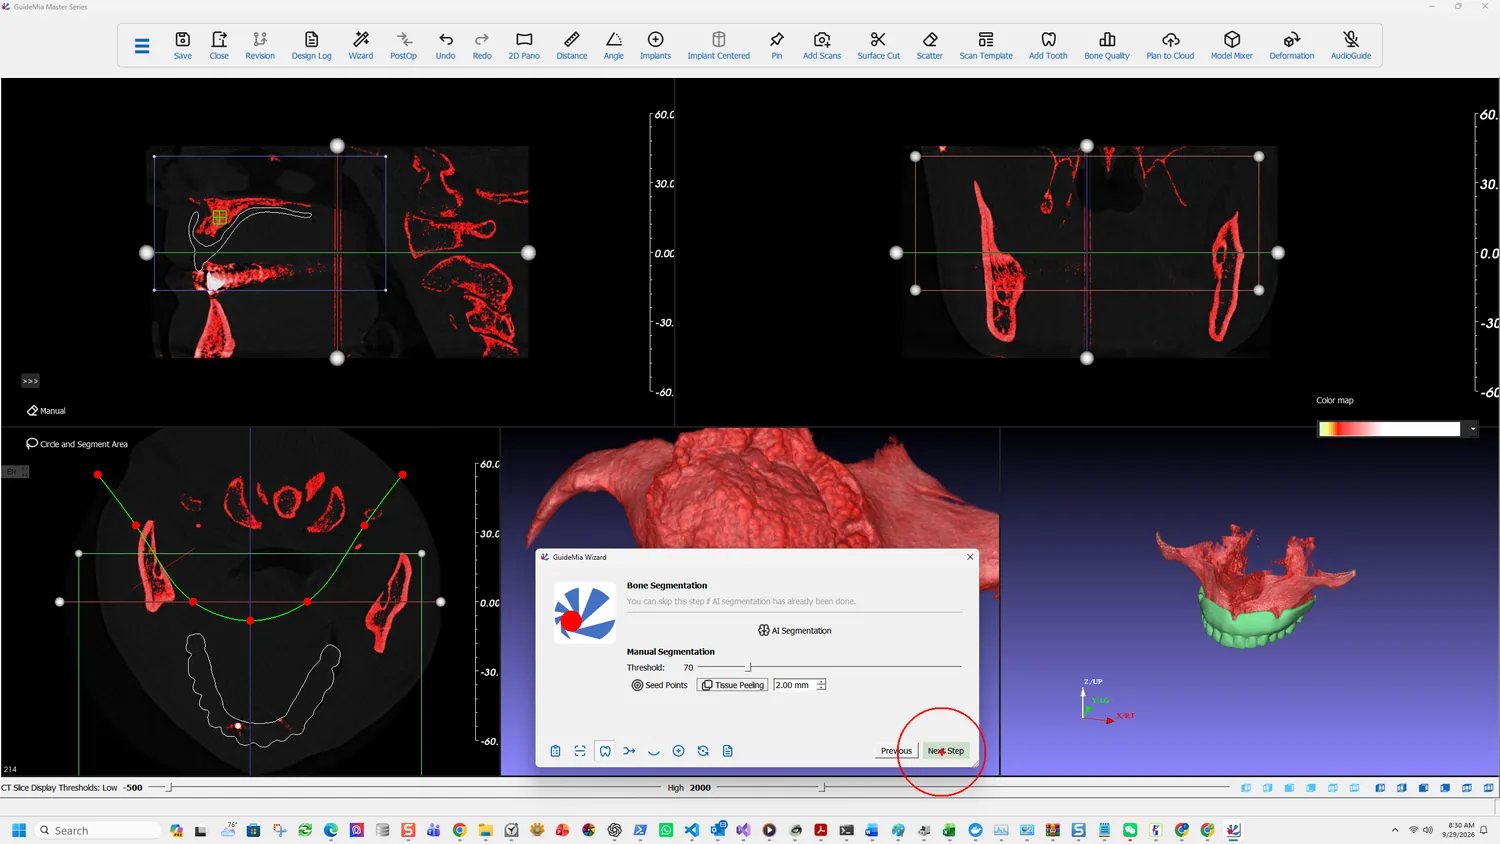
With AI declined, the three manual inputs from step 3 all matter, in order: thresholds first, then the region of interest boxes, then seed points.
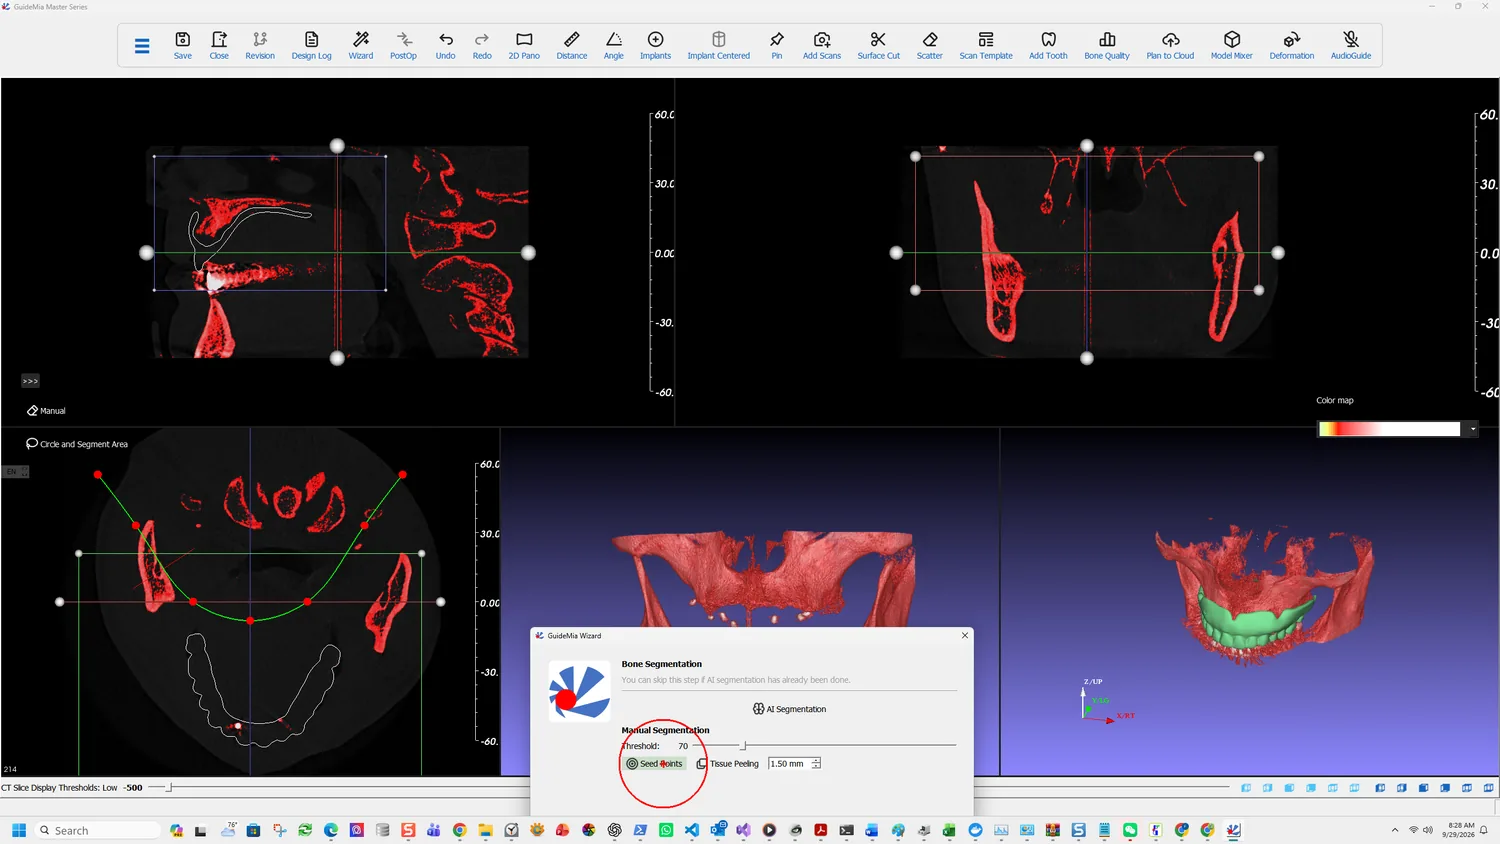
Add the seed points. As mentioned in the lower threshold instruction, this tool is to select different areas in the CT data.
One seed is usually enough. Put it in solid bone, never in the black area — those voxels have already been discarded by the threshold, so a seed there selects nothing.
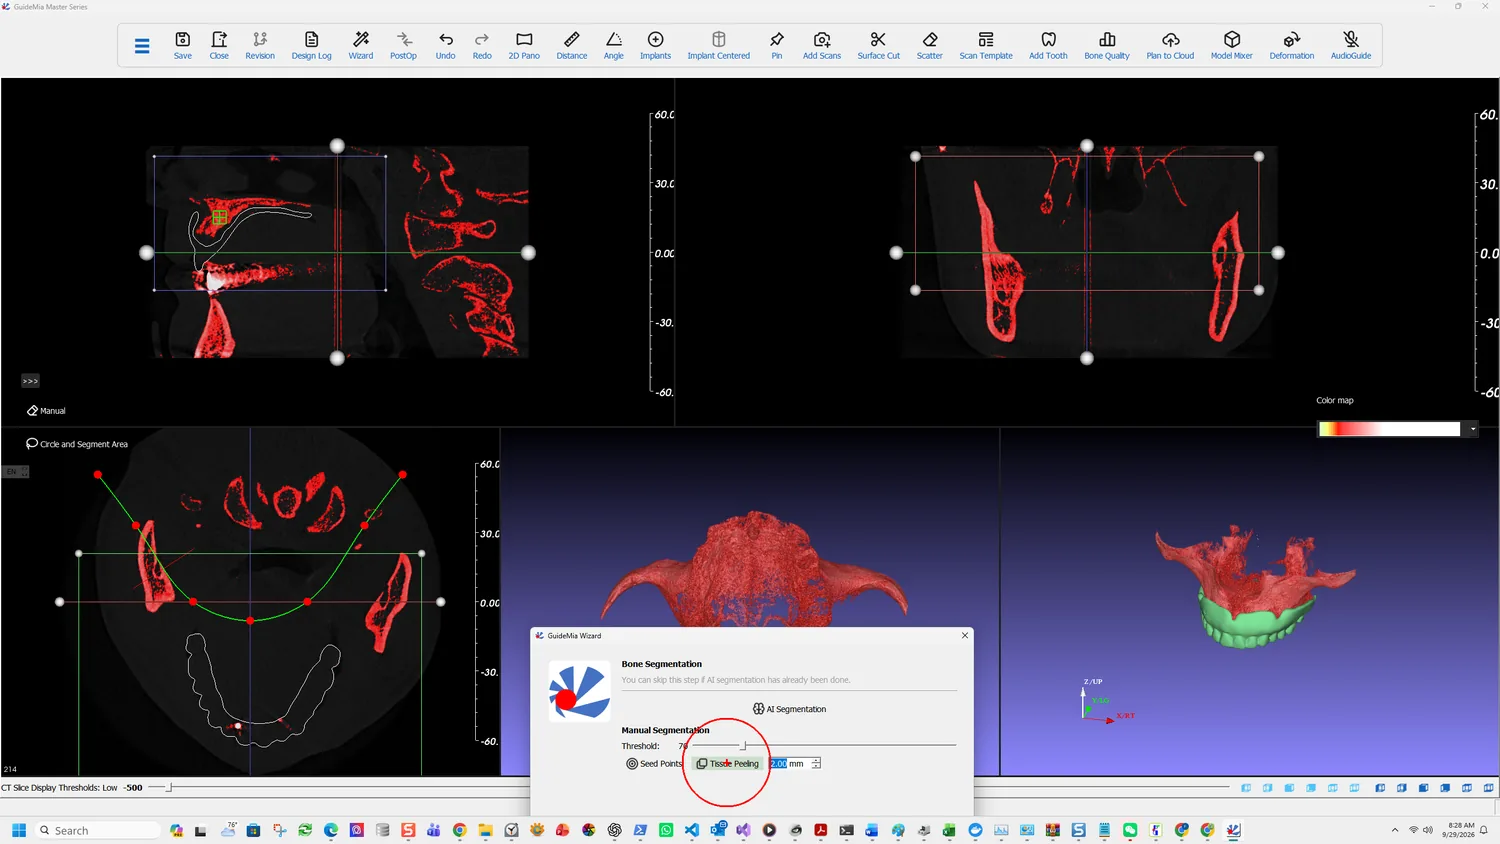
Tissue Peeling at 1.50 mm matters more here than on a dentate case:
Sometimes patients' bone dentistry is low, it is almost impossible to create a good solid model of the bone structure for 3D printing or bone level surgical guide design. The parameter next to this button is roughly the size of the holes you want to fill in. Normally it is from 1 to 3mm or slightly bigger. Smaller values don't do much.
An atrophic edentulous ridge is exactly the low-density case that sentence describes. Without peeling, the segmented surface comes out perforated.
What carries over unchanged
Everything else in the preparation stage is Part One as written: registration of the scan template against the bone, additional scans, and the views you judge on. The one difference is what you are registering — a radiographic guide rather than an intra-oral scan — and the markers you pair are the radiographic markers built into it rather than cusp tips.
The full Load Case Data page carries the impression and denture routes described in step 1. For a full-arch case the Denture design entry is the one worth knowing: it loads a digital denture design, which can be registered against the radiographic guide or against the gingiva model alone, and GuideMia can then add abutment holes to it or generate a prosthesis guide so occlusion and guide position can be checked before any drilling.